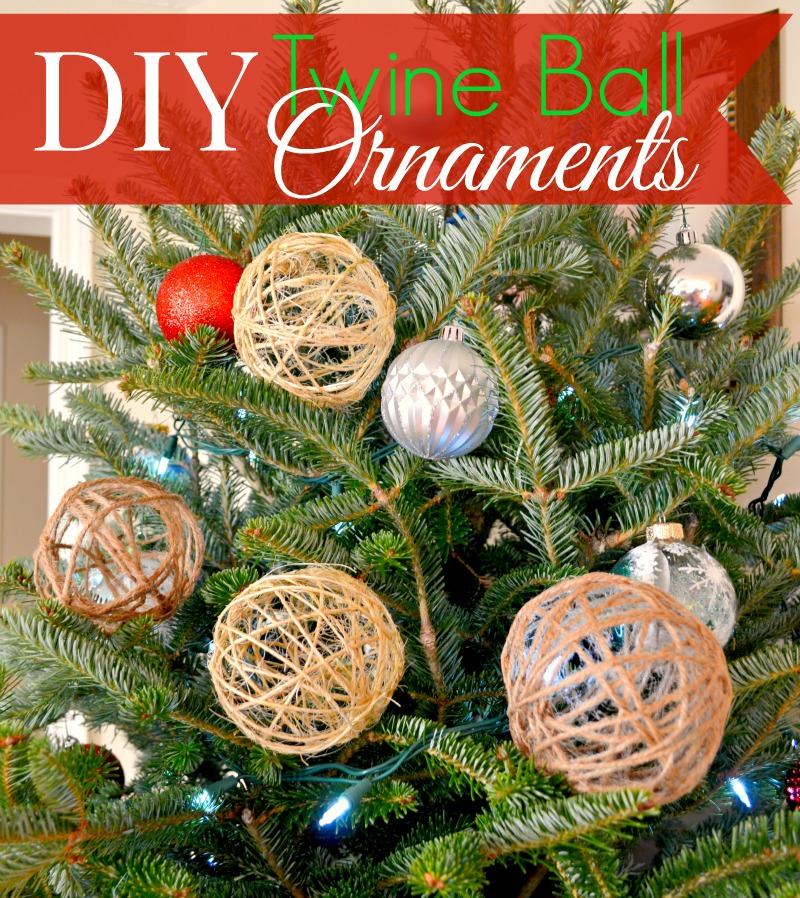
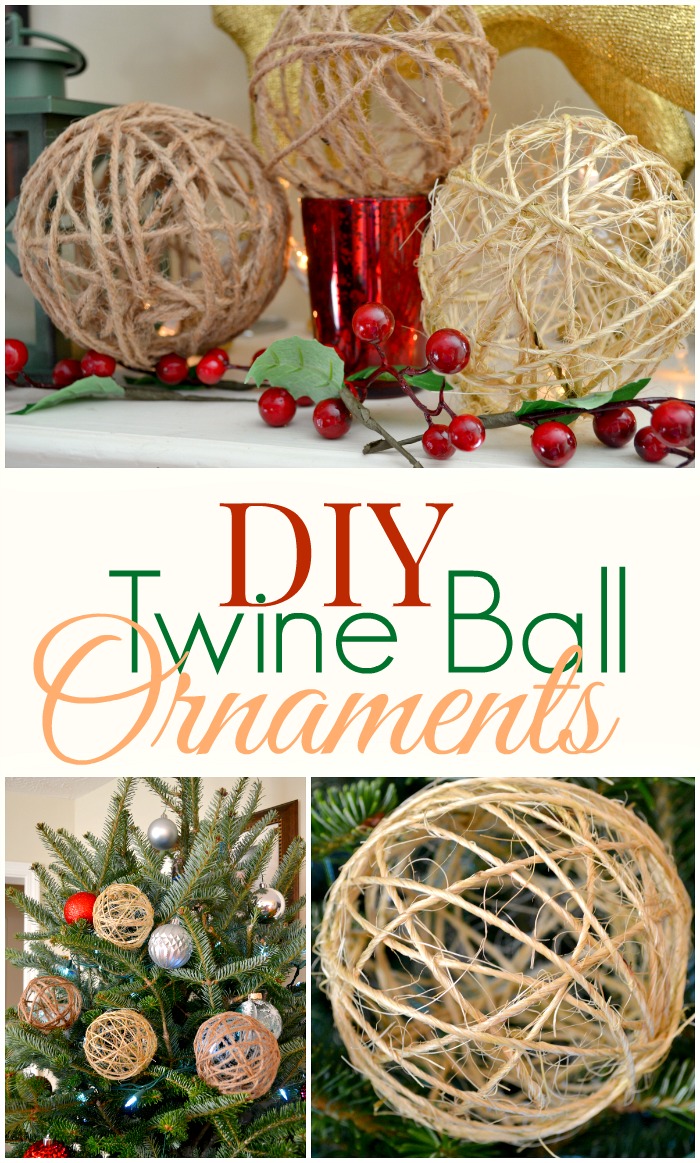
DIY Twine Ball Ornaments
Our family has a shared passion and love for music, there is never I time you will enter our home and not hear the sounds of music coming from Pandora. I love the mood it sets in our home, I enjoy watching my toddler dance to her favorite tune and my heart melts when I hear my children sing songs together. My oldest came home from school a few weeks ago and declared that it was officially time for Christmas music. She has since been our unofficial DJ in the home and we have been enjoying the sounds of Christmas music most of the day. All of this Christmas music has really inspired me to get festive around the house and come up with a craft for the season. I came across these amazing DIY twine ball ornaments, they seemed simple enough and looked really amazing. Little did I know this would turn into an all weekend adventure, but one that our family enjoyed every minute of!

This past weekend I watched every twine ball tutorial, read dozens of craft posts and created a handful of fails. I tried every method and after much trial and error I am thrilled to share with you the most successful process of creating DIY twine ball ornaments! I will leave as much details as possible throughout my post so you can avoid any of the fails and mistakes that occurred for me. If you prefer to just buy them already made, you can always check out Polar X Ornaments.
So here we go friends, let me show you how to make these beautiful ornaments that friends and family will think are store bought!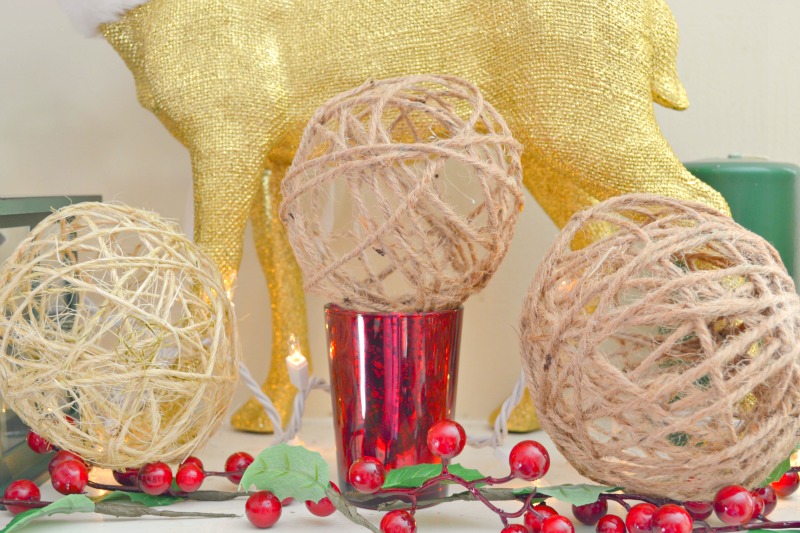
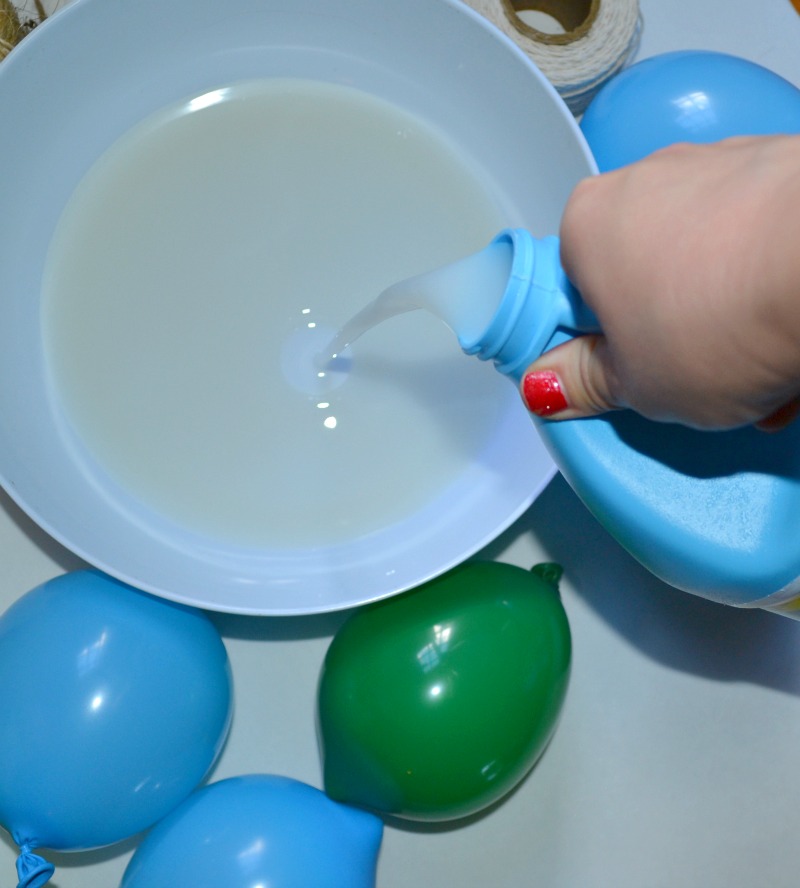
I attempted to use Mod Podge… plastic wrap… Vaseline and various mixtures of what others suggested would create a twine ball… all of which did not work for me. I finally came across a tutorial that required one ingredient, it seemed far too good to be true, but what did I have to lose? Turns out, it works like a charm and it was the easiest method I had attempted! All you are going to need for this DIY is liquid starch (you can find this at Walmart in the laundry section for less then $3), small balloons, and various twine.

Wrap the balloons in twine, the twine doesn’t have to be wrapped in any particular way, you don’t have to use a certain amount, just go for it! Once you are done wrapping the balloons in twine, tie the end to keep the twine in place. The next step is to pour your liquid starch into a bowl.
Roll your twine wrapped balloon in the bowl, don’t be afraid to get is completely saturated in the starch. I actually waited a few hours and dipped them again to ensure they were very sturdy once finished.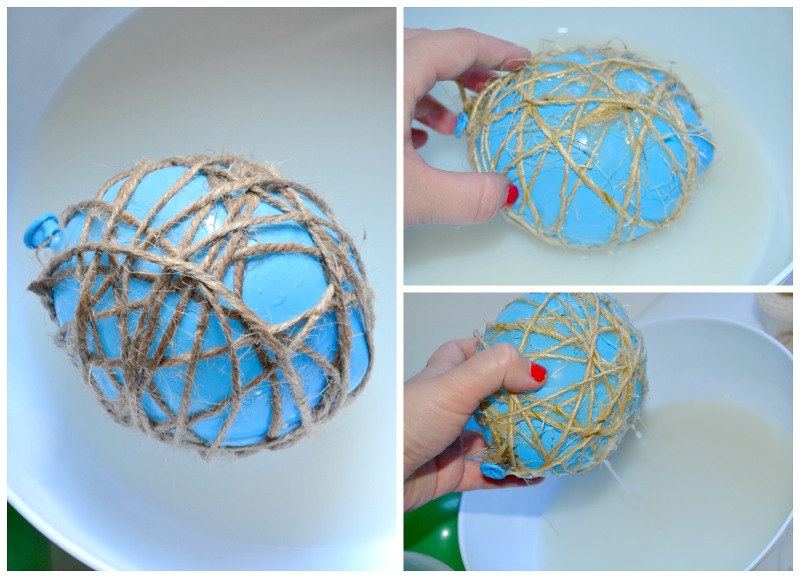
I placed my twine balls in strainer with a bowl underneath to catch all of the excess liquid starch. You are then going to wait overnight for them to dry. DON’T get anxious like myself and think placing them in front of a fan two hours will speed up the process. These really need a good 12 hours+ to dry, I know it’s exciting and you want to see your final product… but they will crumble when you pop the balloon and you will have to start all over (trust me, I know!)
So the next day has arrived and it is time for the very final step… pop the balloons!
These twine ball ornaments came out so great, they were really inexpensive to make, simple for anyone to attempt and most importantly… it was fun for the entire family! I hope you enjoyed this tutorial and create these DIY twine ball ornaments with your family! These could be made all throughout the year for each holiday and I can’t wait to make more now that I have found an easy way to make them!

I’m totally doing this with my daughter this weekend. Such a fun craft! #client
amazing learning for kids
I made easter eggs using technique about 35 yrs ago. Wrap and box them for storage and they will last. *Note you can also wrap the ornament leaving an opening at the top to put a Christmas scene in it like snow & a mini snowman.