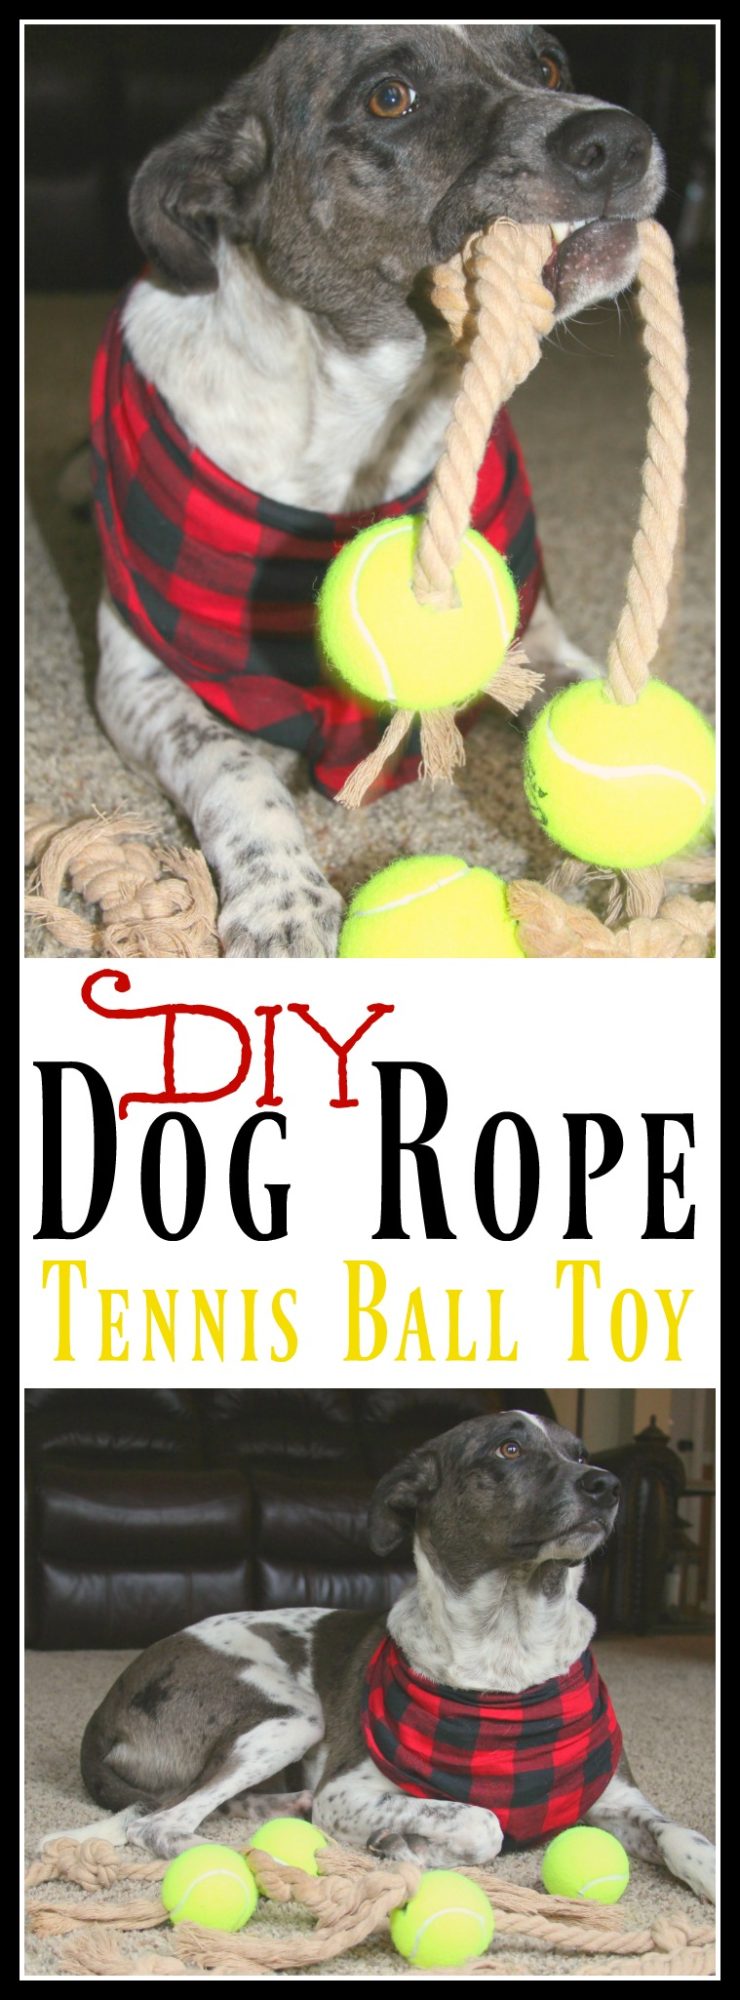
DIY Dog Rope Tennis Ball Toy
Our dog Duke is the ultimate destroyer when it comes to toys! I have offered him a variety of different dog toys over the years and none have lasted more than a few minutes. The only toy that actually takes awhile for him to completely destroy are those rope tennis ball toys. I decided it was time to learn how to make these myself so I can save money and always have them on hand. This turned out to be a super simple DIY and very inexpensive… I can’t believe I didn’t do this sooner!
All you need for this craft is some rope and tennis balls. I ordered my rope in bulk, just look for super soft 3 strand twisted cotton rope. You can also buy packs of tennis balls for just a few dollars.
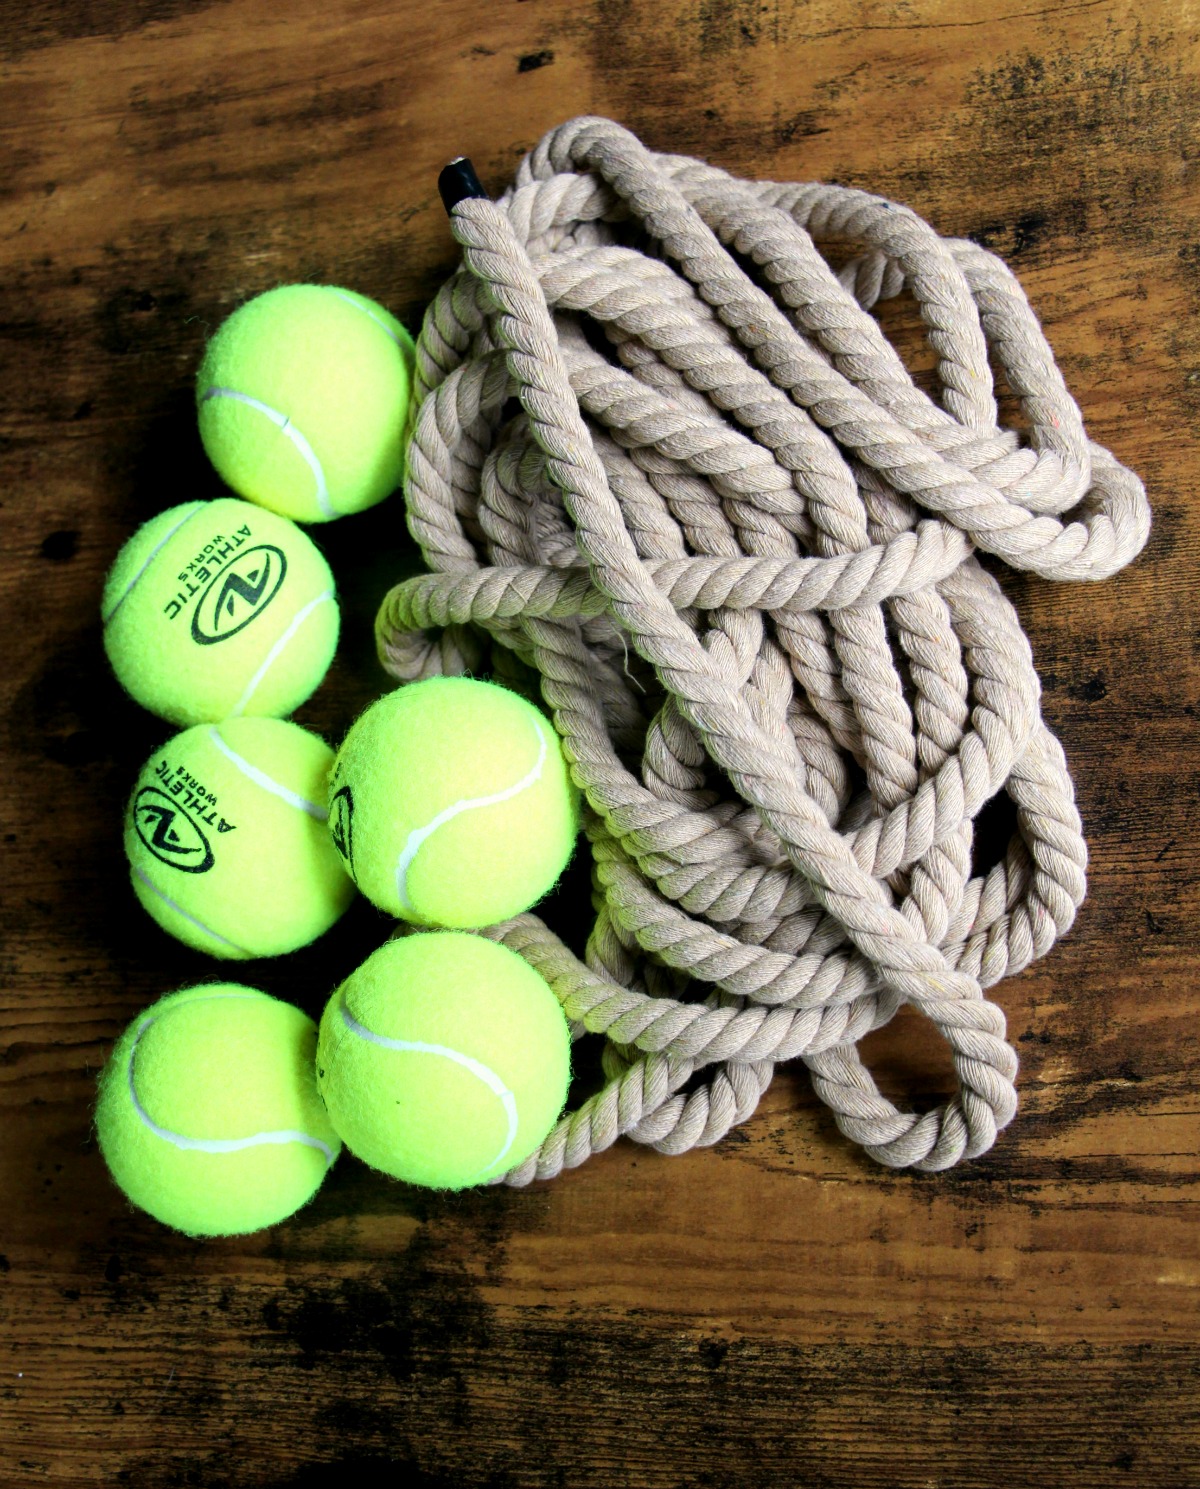
The only tool I used for this DIY was a box butter, which makes cutting holes in the tennis balls very easy. There are so many different ways you can make these toys, some with the tennis balls and some without! I am going to share a few examples and ones that are my dog’s most favorite.

You first step is to use a box cutter to cut a hole on opposite sides of the tennis ball. Make sure the hole is large enough to get the rope through easily!
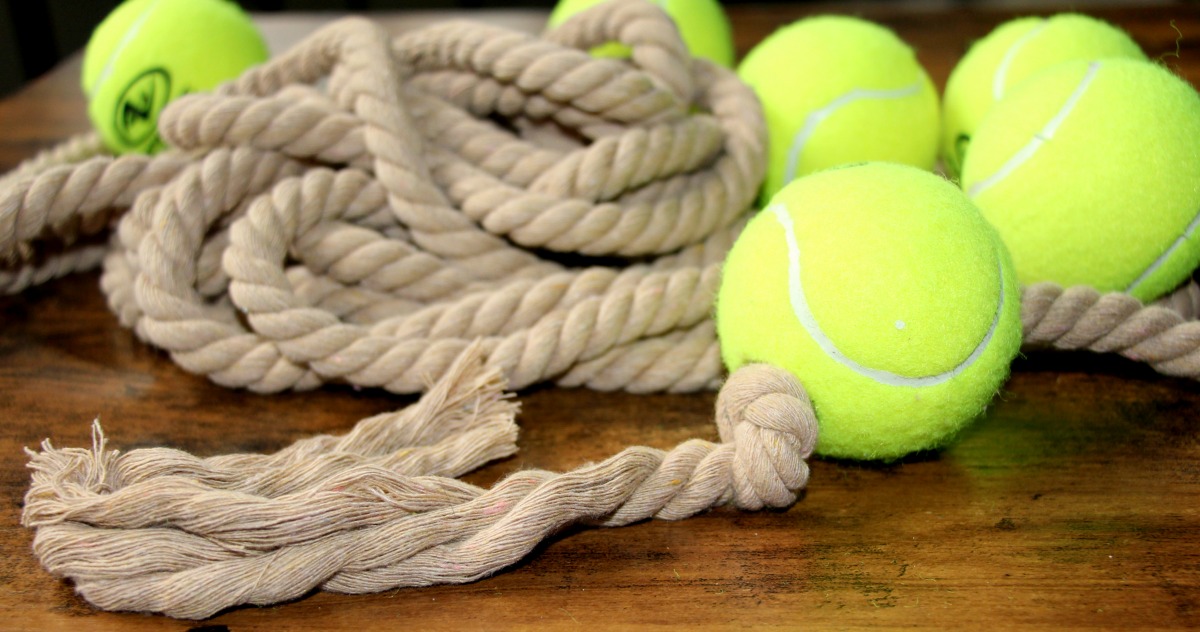
Cut a section of your rope off, whatever length you think would be appropriate for your pup. Pull the rope through both holes. I tied a few knots throughout the rope because my dog enjoys chewing on them, but you are welcome to leave that step out if your dog does not prefer them.
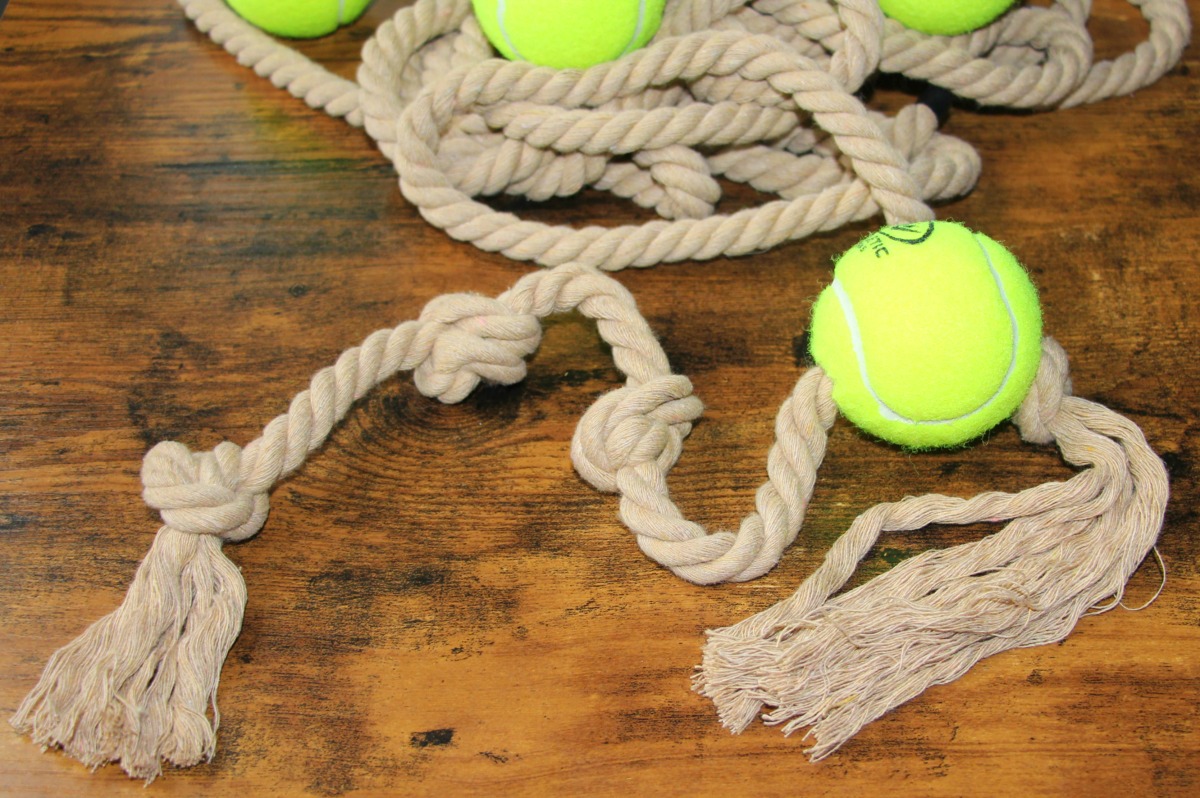
Once you are finished with your design, you are going to need to tie a know at each end of the top, then unravel the ends.
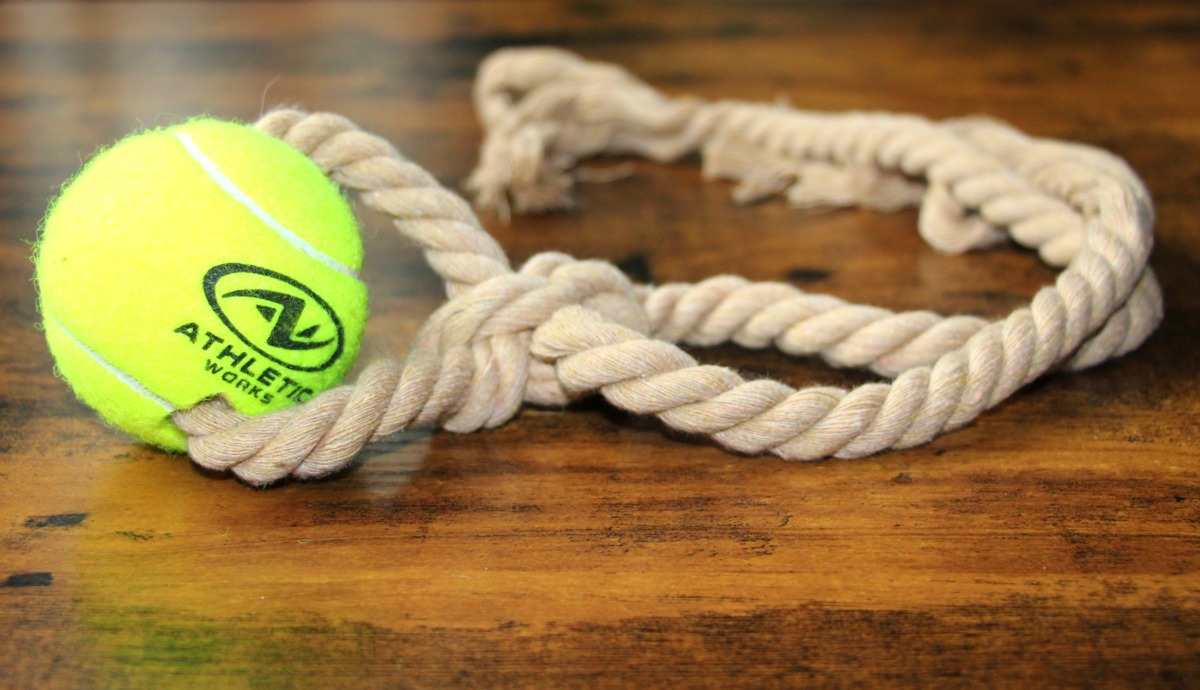
Another option you have is to tie a loop around the tennis ball which makes the perfect rope toy for dogs that love playing tug of war!
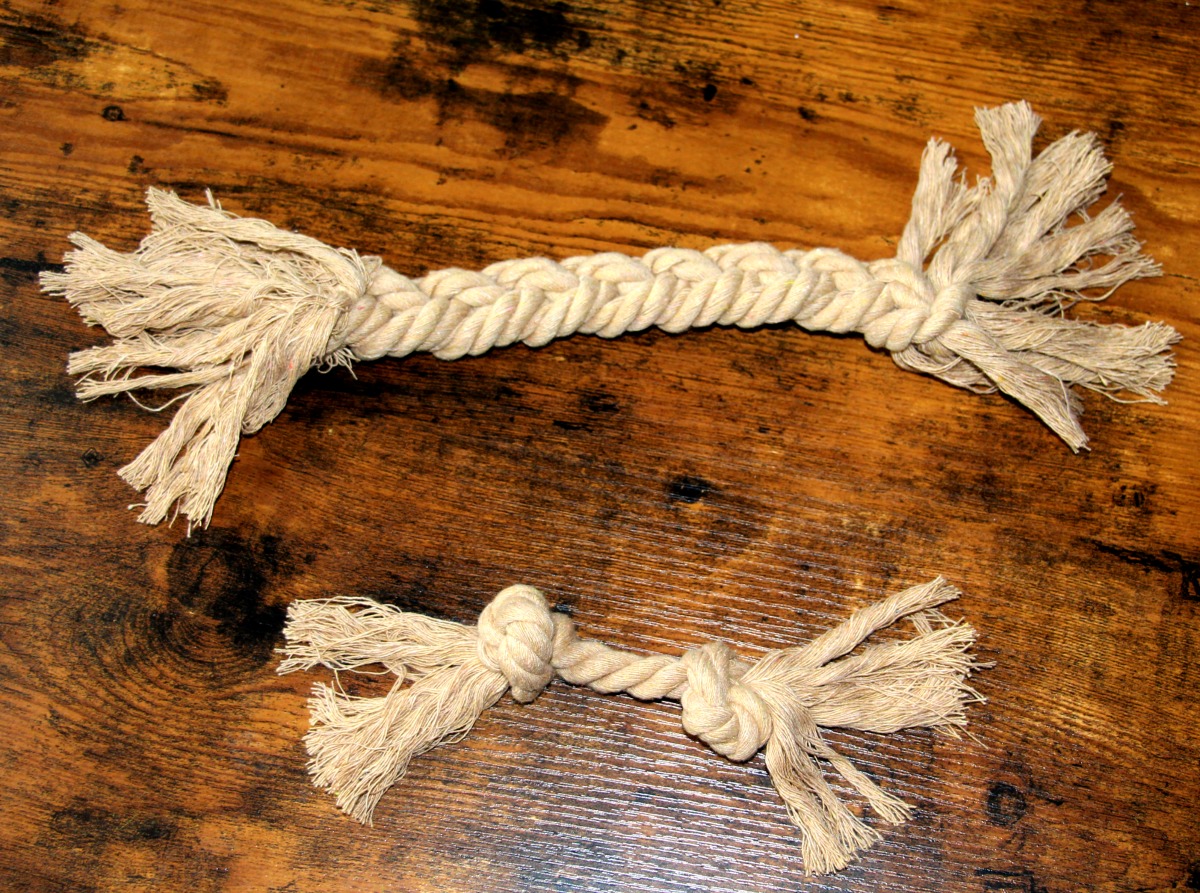
If you would rather just skip the step that involves the tennis balls, then you can always create very simple and fun rope toys. For the larger one I separated the three strands ad braided them, this makes the rope much thicker. On the ends I just double knotted several of the strands in order to hold everything together and to keep the toy from unraveling. The smaller rope toy is just a knot on each end!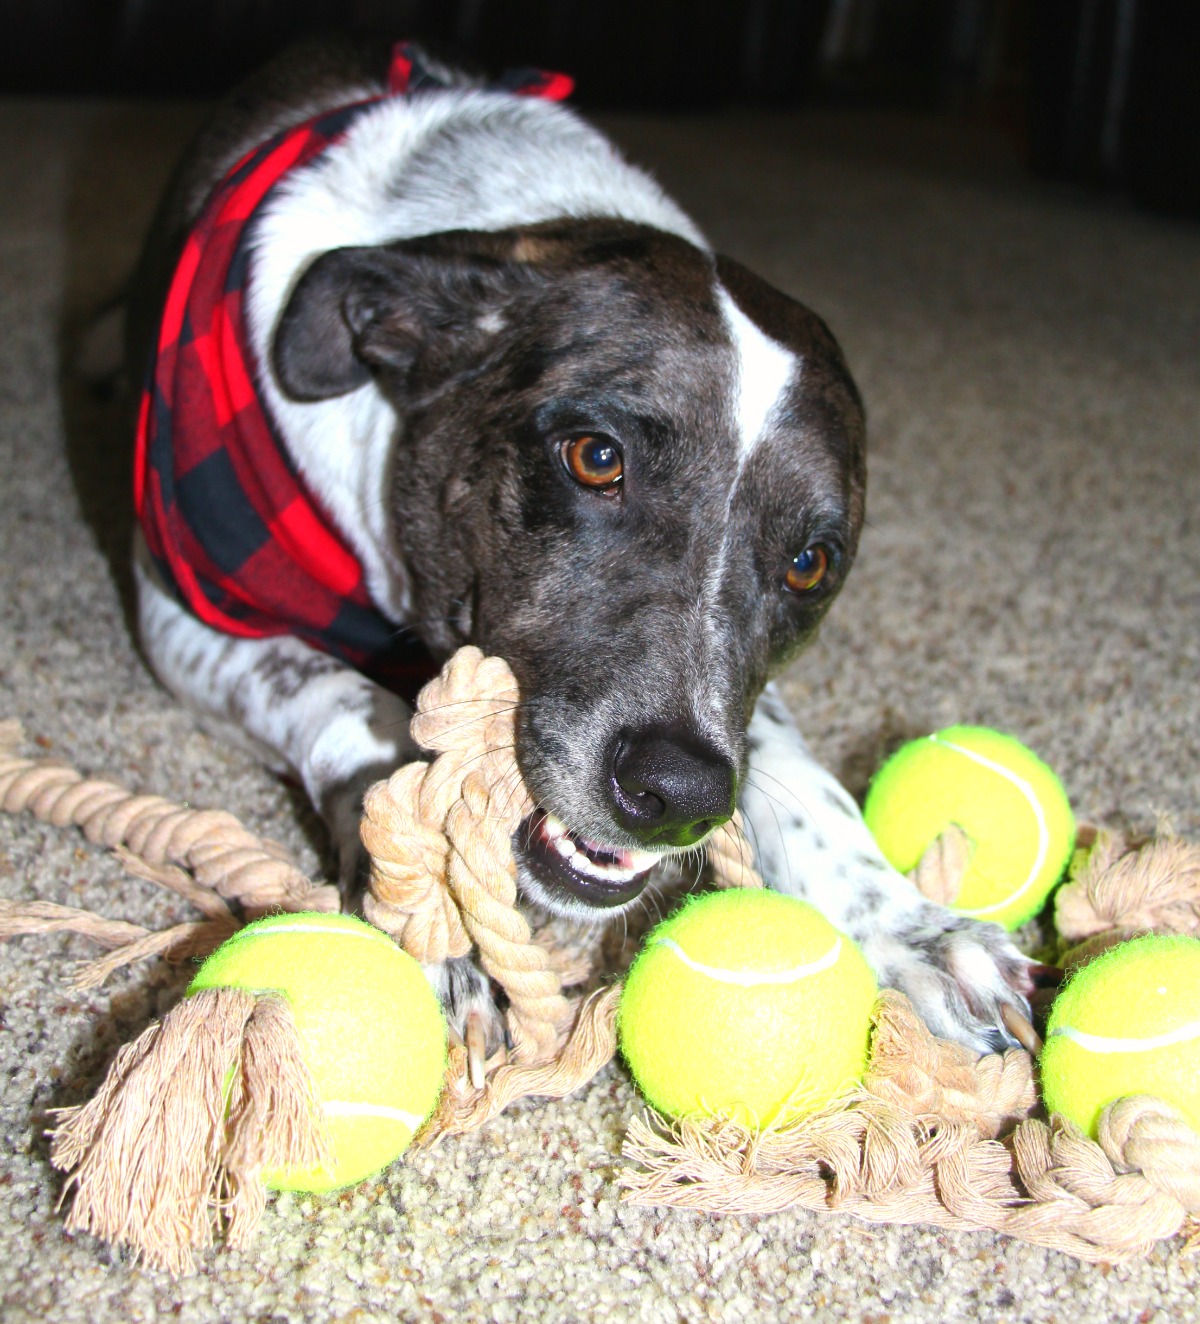
I still have a bunch of rope left over from this DIY which means I will still be able to make several more rope toys for my dog! This cost me $10 to make all of these toys when just one of them would be more than that in the stores! I am really happy how they turned out, you would never know that they were made right at home, they look just like the store bought ones.
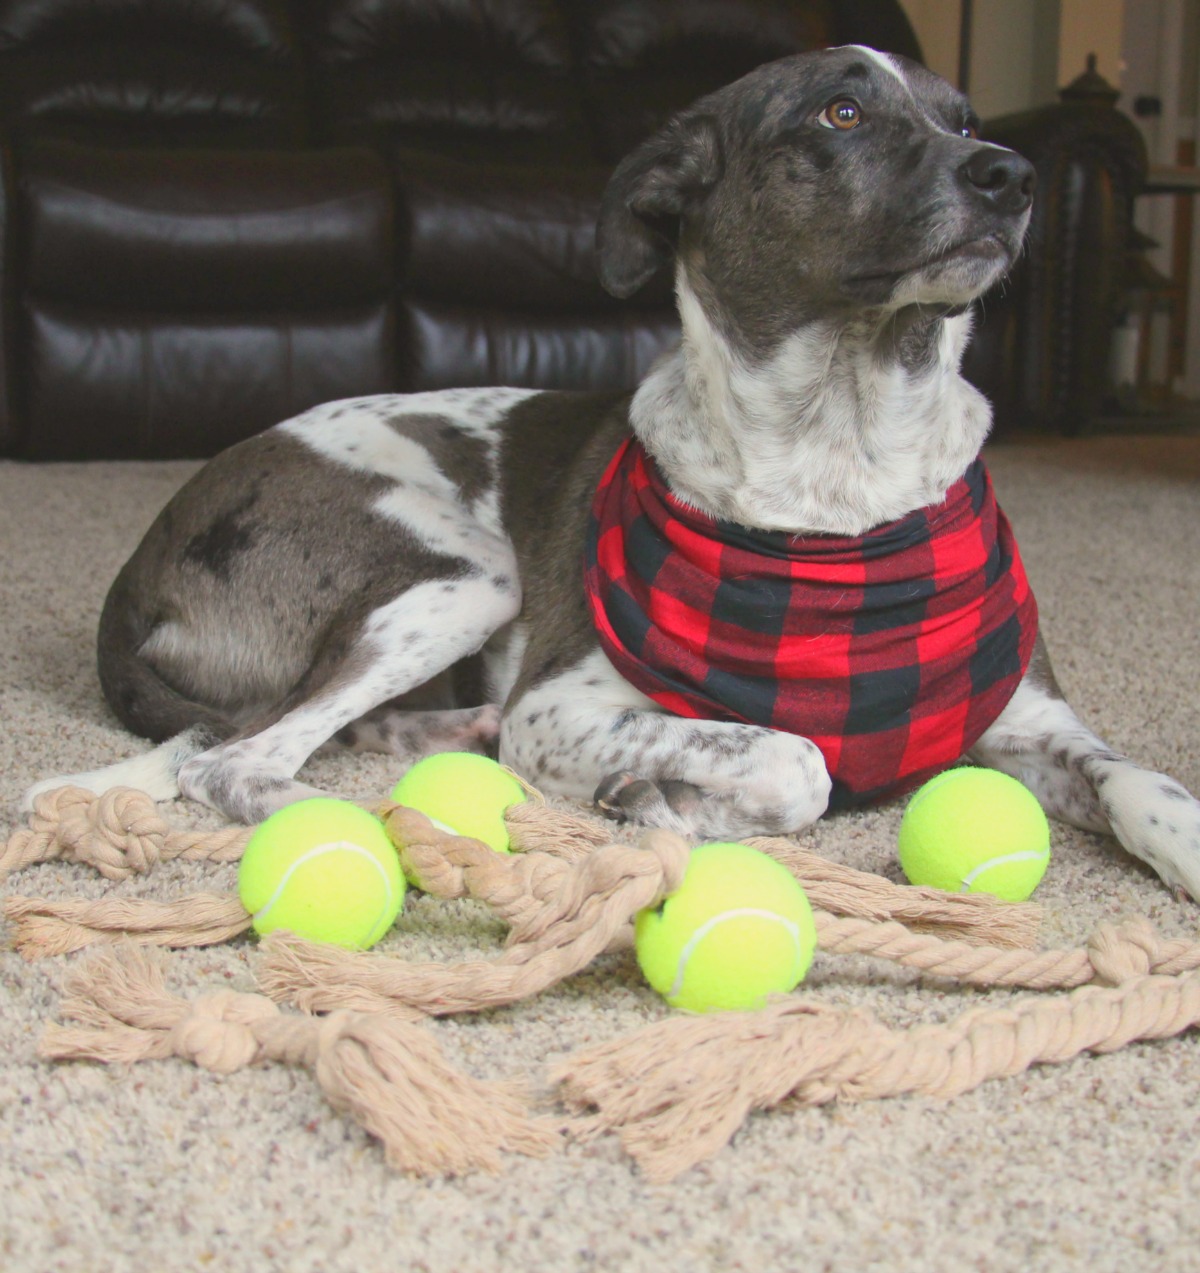
If you are looking for an affordable pet toy that you can make right at home that is going to keep your dog happy and occupied for hours, then I highly recommend you give this DIY a try!
We hope you enjoyed this post! Let me know in the comment section below if you gave the DIY a shot, and if so… how did it turn out!? I would love to hear how creative you got and what your pup thinks of his new toy!


Thanks for such a nice content. Apppreciate it 🙂
Cheers
If anyone interested similar one’s have a look here . thanks
OMG, such a cute dog! I must say that he is so adorable. I can’t wait to try this creative DIY project. That’s really a brilliant job. I just love it. Thanks for the content. My puppy loves ball launcher toys.