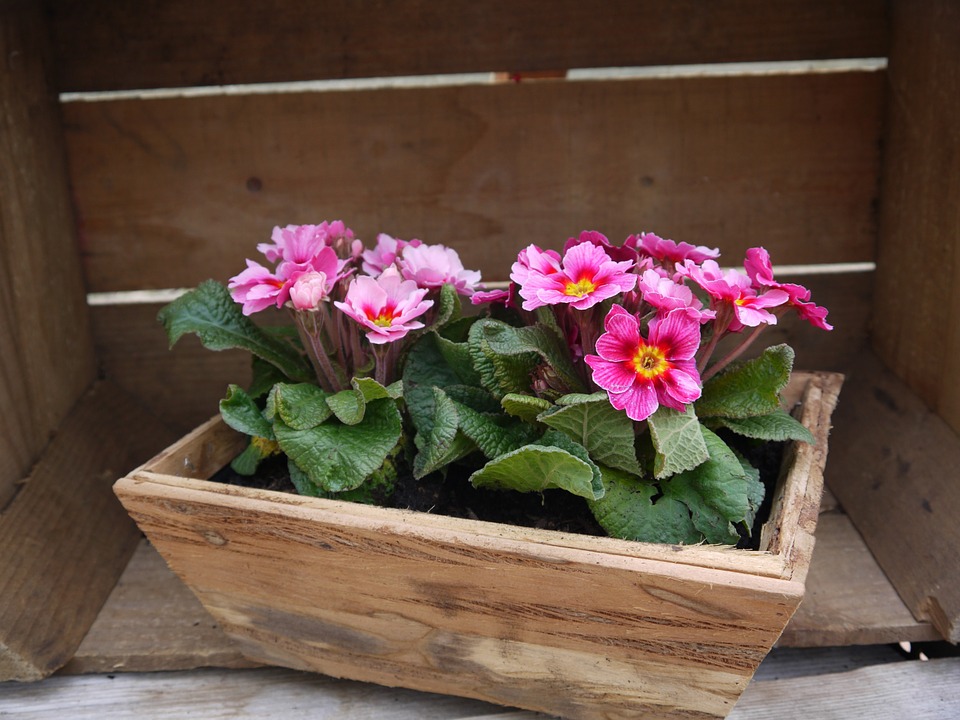
A Helpful Guide to Building a Planter Box with the Family

There is nothing like spending a lovely afternoon with our family. It is the only time where each member can get to indulge in activities they have all wanted to do together. Sometimes it is these opportunities to bond with the family that gets each member through the whole week in school or at work.
So what is the perfect family day? You can all watch films together, make it a marathon. How about cooking or baking new kinds of food, some of which you have not even tried. But you know, doing a DIY (do-it-yourself) project also seems to be one of the best family bonding activities out there. And to start easy, might you consider flowers in a box for a project?
Just think about it: the project requires both practical and creative arts, and surely each member’s strengths will play out while building a planter box. On the surface, of course, it sounds a bit ridiculous. But pretty sure that once you get started, you will have an amazing time doing it. To help you, we have created a simple guide so you would not have to worry about what to do first.
Prepare the necessary materials
All DIY projects come with countless materials. So to kick things off, make sure to prepare the following for your planter box:
- Cedar panels
- Drill bits and drill driver
- Wood glue
- Wood filter
- Lag bolts
- Level
- Exterior grade paint (any colour you want)
- Paint brush/roller
- Primer
- Hammer
- Caulk
- Sand paper
Discuss the design with the family
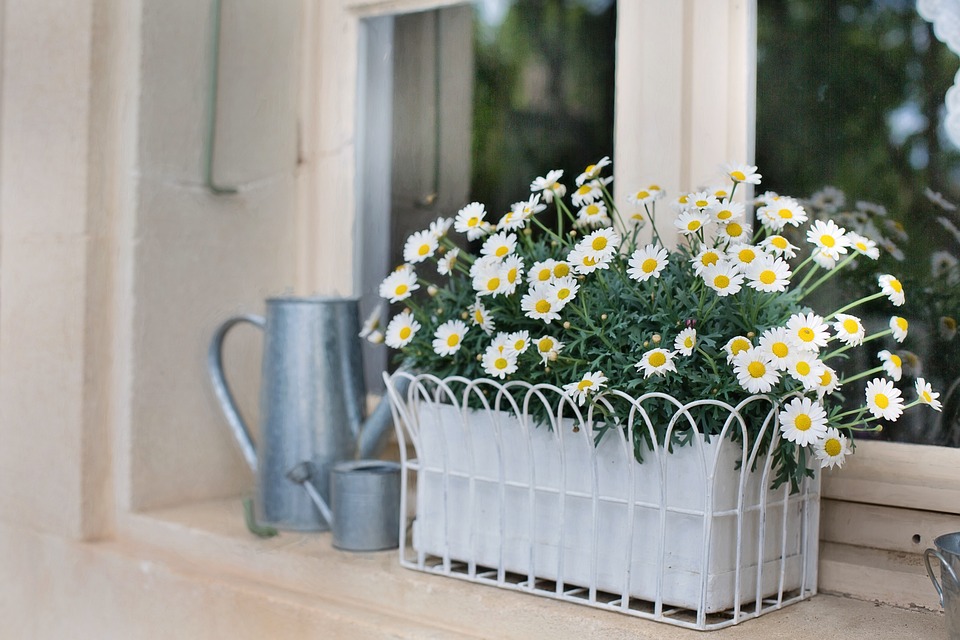
Flowers should not be the only decorative piece on this planter box, the box itself has to look good, too. If the family wants a simply painted box, then the materials you currently have on hands will do. However, if they want intricate details on the design you might need extra materials or an extra pair of hands to achieve it. If it is a design that requires instructions, make sure to have them with you once you start designing the box. But do not worry about the complexity of the design for your first planter box project. Most families, for their first time at least, would choose only intricately painted details on the box, for which you will only need different sizes of paint brushes.
Start measuring
Once you have a design in mind, you can now start the project by measuring the window. Get its dimensions and the cut the wood to its specific measurement. Do not forget to cut wood that will be used for support, as well. The planter box will be doubly heavy once the soil and the plant are placed in it. To guide you, assume that the box will weigh at least 160 pounds, so be sure to have wood that can support that weight, and then secure them with the lag bolts.
Assemble the parts
To avoid problems with assembly, put the parts on a flat surface and then clamp the pieces in place so you can drill the boards easily. For a more finished look, you can add trim to your box. You can do this by cutting four pieces of wood with the same length and height of each side of the box, then nail them in place. Sand the box to give it a cleaner look. Then for the finishing touches, you can drill holes at the bottom of the box to serve as drainage.
Finish it off with decorations!
After the assembly, you may start decorating you box. But before you do that, fill in the nail holes with wood filter first. Apply paint primer, wait for it to dry, then start painting.
This is a very simple guide to help you get an idea of what to expect. Of course, you may find other instructions for more complex planter boxes, but this will already help you achieve what you want for your family weekend bonding.


One thought on “A Helpful Guide to Building a Planter Box with the Family”