How to Caulk Like a Pro
If you have been sifting through some trending home improvement options on the web, you must have come across caulking as well. For your information, caulking is one of the easiest home improvement jobs that make you feel as if you can already do it like a pro. The truth be told, most people wouldn’t have even heard about it. Although this job ends up in a mess, you surely get to learn a lot . So if you have been looking for some of the easiest tips to become a pro at this job, you’ve come to the right spot. In this feature, we will walk you step by step through everything that you need:
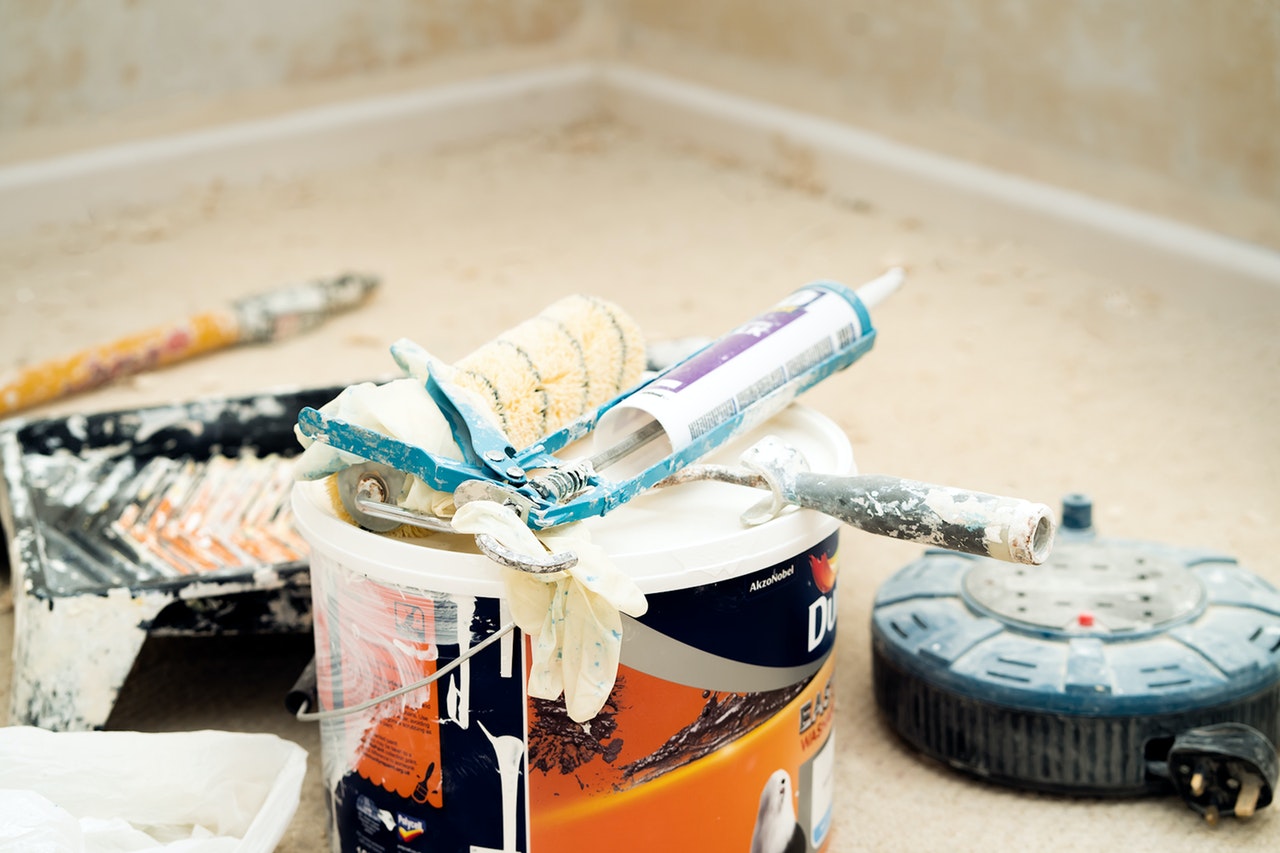
The Equipment and Tools
Here is a short list of the equipment and tools, you’ll need:
- Caulk Gun
- Shop Vacuum
- The retractable razor blade
The Materials Required
- Cotton Rags
- Rubbing Alcohol
- Caulk
- Blue Painter’s tape
How to Use it?
Now that you have collected the relevant material and stuff, you need to buy full confidence for yourself and follow the instructions below:
- Always Settle for the Right Type of Caulk
The first and most obvious step is to choose a caulk that is in coherence with your project’s needs. Bear in mind, a caulk is broadly available in 3 types, which are latex, butyl rubber and silicone.
If you want to caulk in the wet areas, we recommend you to choose silicone.
For fry areas, vinyl latex registers as the best option
Butyl rubber is the perfect choice for exterior jobs.
If you have conventional home repair projects, you can either choose the silicone caulk over the latex caulk.
On the other hand, the type of gun that you choose will also have an impact on your decision. Unless you have been living under the rick, you will know that the traditional caulks are purchased, either in the cartridges or the squeeze tubes. Once you choose one out of them, they are then loaded into the caulk gun. Professionals prefer to use the cartridges because they can save money in the long run and also deliver the best results.
Clean the Surface
Preparing the surface and removing the old caulk are very important for the effective application of the caulk. So if you want to prepare the surfaces, you need to use the razor blade and remove the old caulk. Next, you can use a shop vacuum to get rid of the large pieces of debris from the surrounding areas of the joints that have been fixed. Use the rubbing alcohol and a rag in the end to clean the surface. Don’t overlook the sealant cleaning as well because you might have to consider it for later use.
Use the Caulk
This step needs careful consideration because you need to cut the tip of the nozzle. Here, you need to use a utility knife and insert a long nail inside the nozzle. Gently poke through the sealto rest assured about the seamless flow of the caulk. Don’t make sure to apply enough force to push the caulk fully inside their joint. Make sure to be smoother because it will have a positive impact on the end results. Last but not the least, wet your finger with the alcohol and use it as a lubricating agent to smoothen the joint.
Make use of little pressure to smoothen the caulking joint. So when you put your finger inside, take out the excess caulk and re qet your finger. Continue with this process until the taped section is all cleared.