DIY Rustic Toilet Paper Holder
I love rustic decor and every time I pick an item out at the store I always thing to myself… I could probably make this myself for a fraction of the price! My only downfall is that I simply don’t have the time and patience for an elaborate DIY craft where I am sawing, measuring and constructing a masterpiece over a matter of weeks. I was in need of a toilet paper holder for the back of our guest bathroom toilet and wanted to create a simple project that was not time consuming. In just one day I was able to create this stunning rustic toilet paper holder that turned out better than I anticipated!
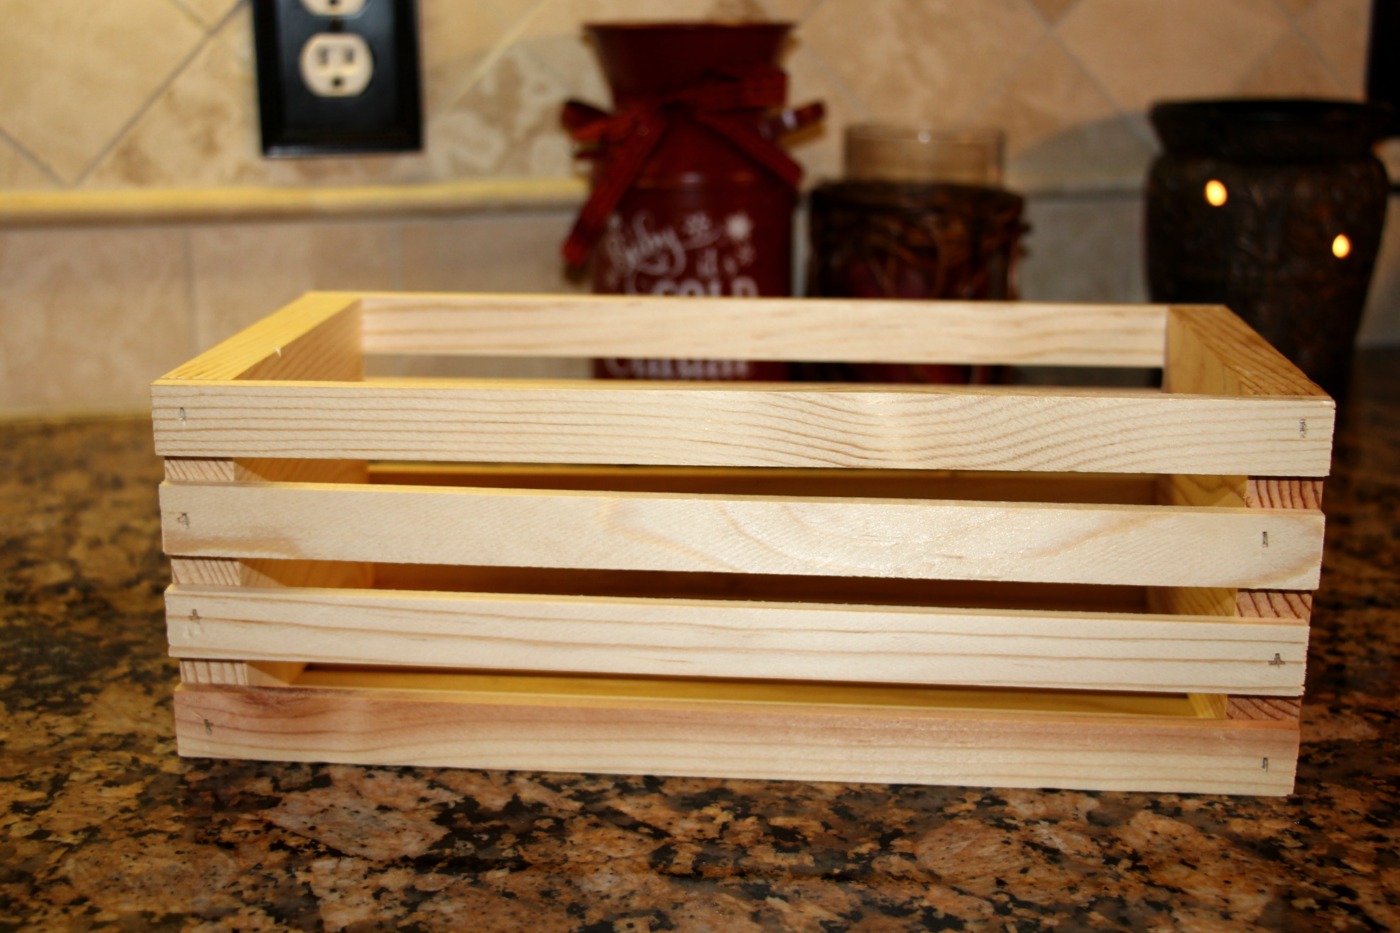
The first item you are going to need for this project is a wooden crate that fits the back of your toilet. I was expecting to have to run to the local home improvement store to purchase wood and have to spend hours cutting and sanding. To my surprise I discovered that you can purchase wooden crates at your local craft stores. I picked up a crate that measured 12 X 5 X 4, and was built from smooth unfinished pine. This crate required no prep work and was ready for me to customize it however I wanted, all for under $10!
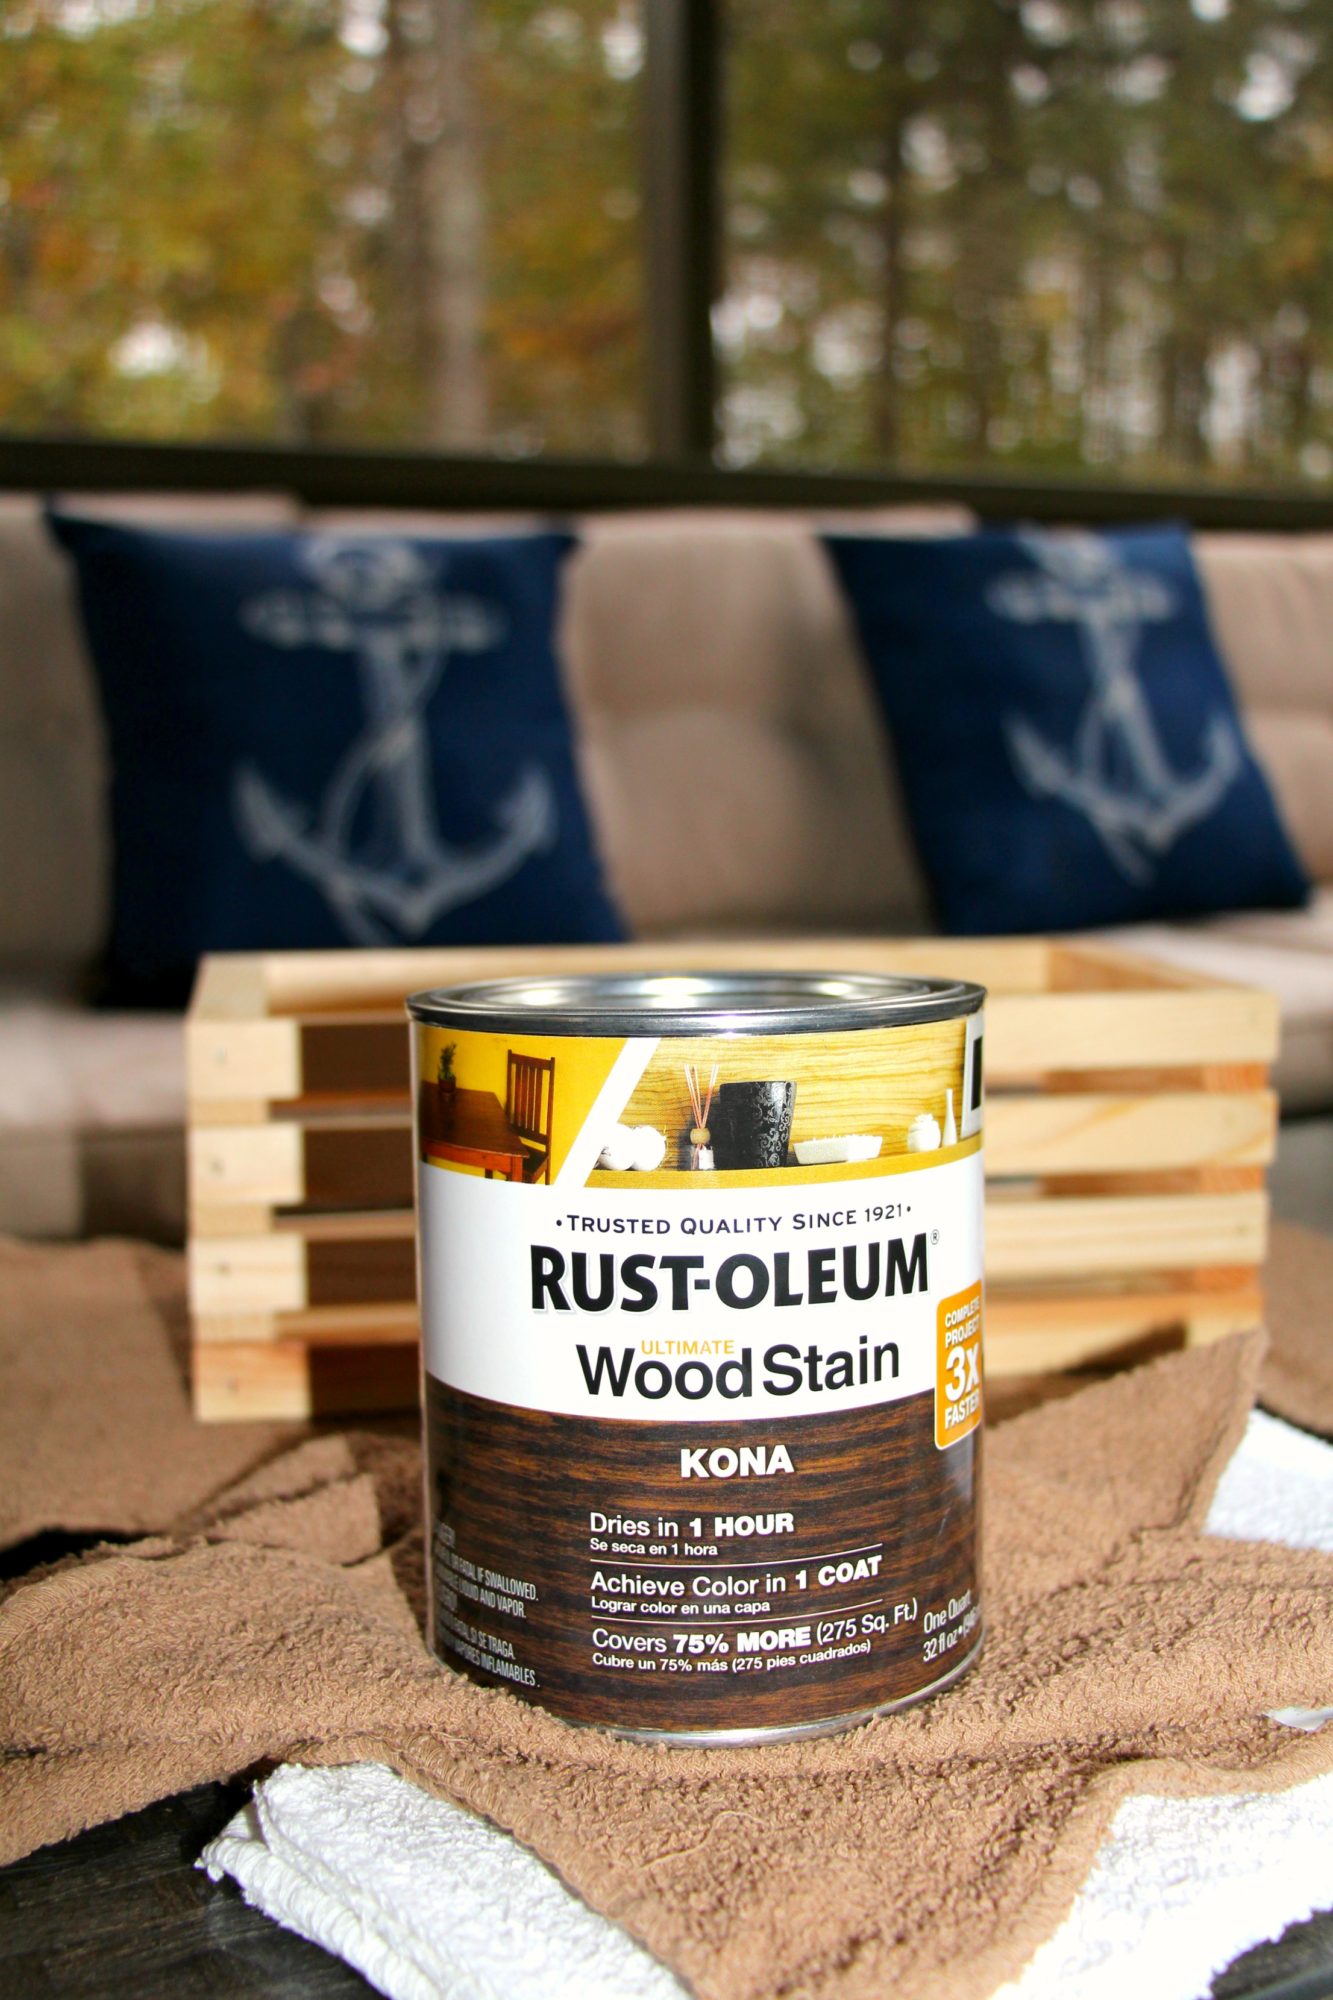
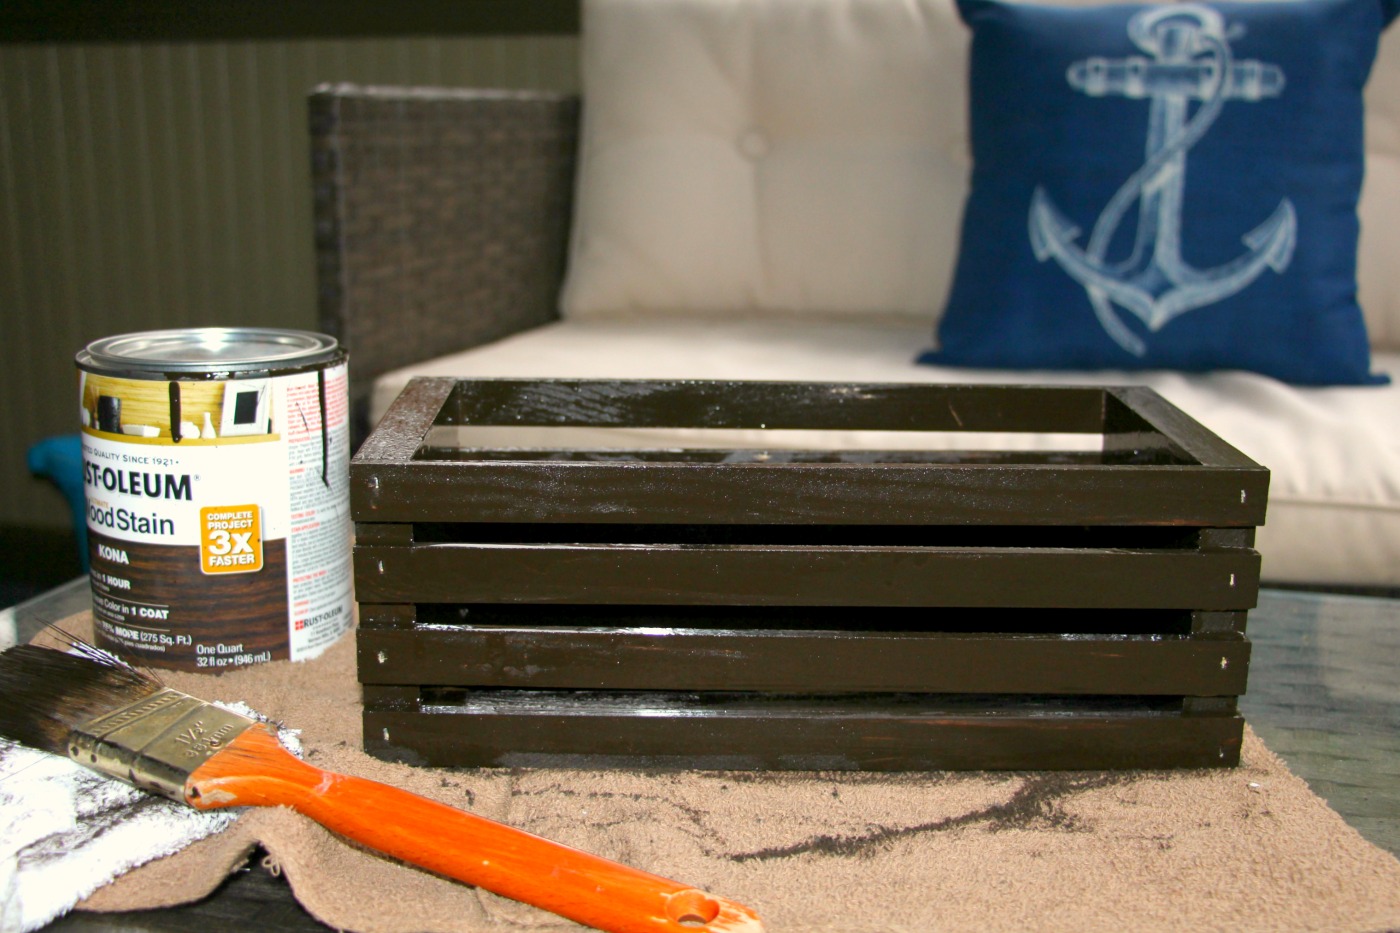
Your next step is to pick out a color of wood stain that you would like. I wanted a very dark color wood and ended up choosing the color “kona” for the stain and it was exactly the shade of brown I was looking for! There are many different types of wood stain, I went with a product that was both a wood conditioner and stain in one, which eliminated an entire step of the process.
I used a paint brush to stain the crate, however many crafters use a lint free cloth and wipe down the wood with the stain. I preferred the brush because it gives it a much thicker coat. Make sure that you do this in a well ventilated area, I recommend heading outdoors because the smell is very strong.
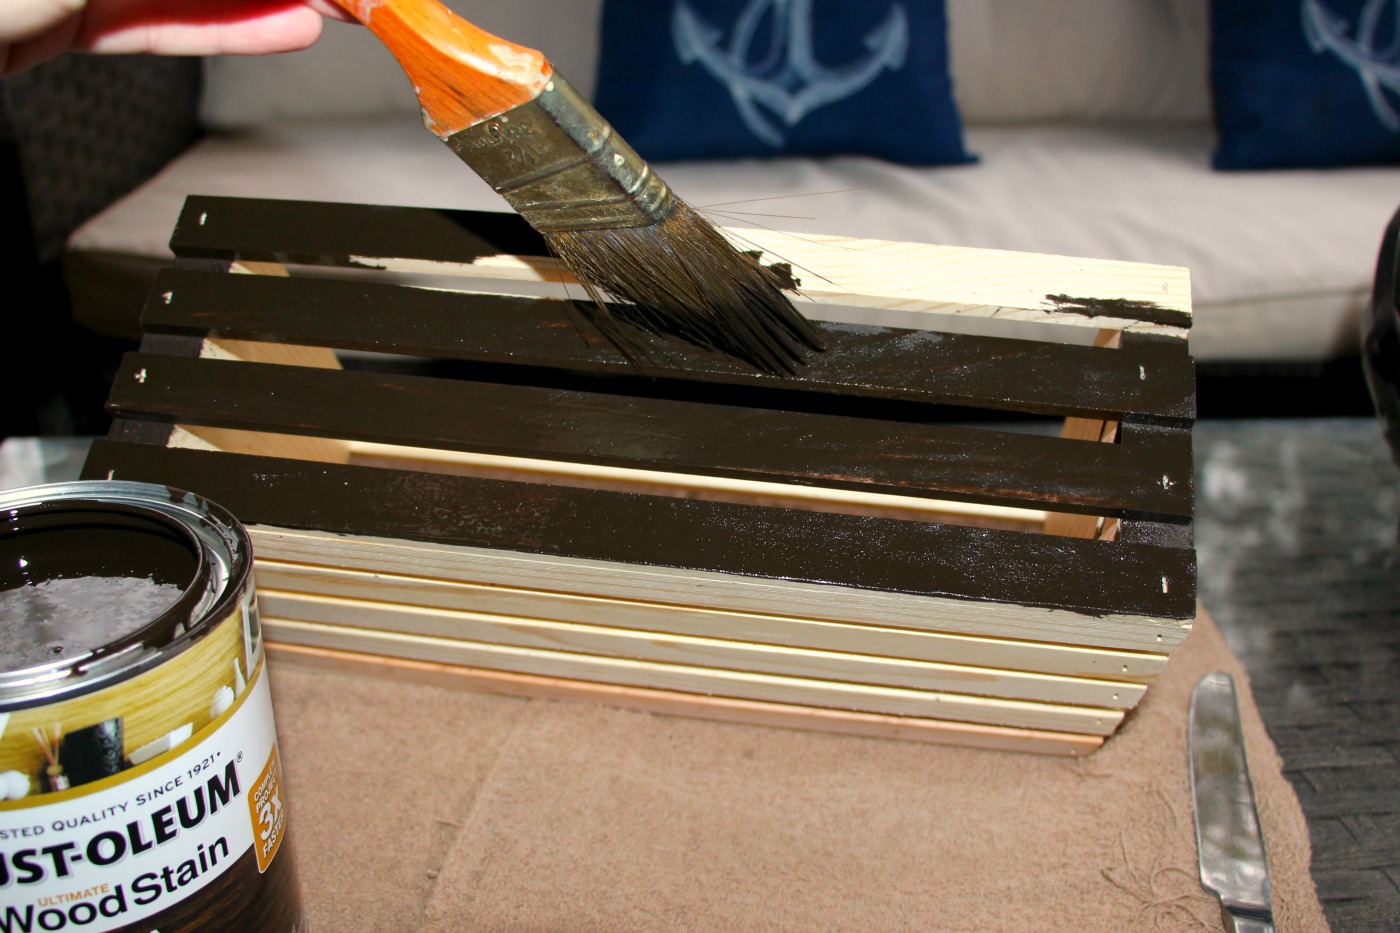
This required one coat of paint only and I left the crate out overnight to fully stain the wood and completely dry.
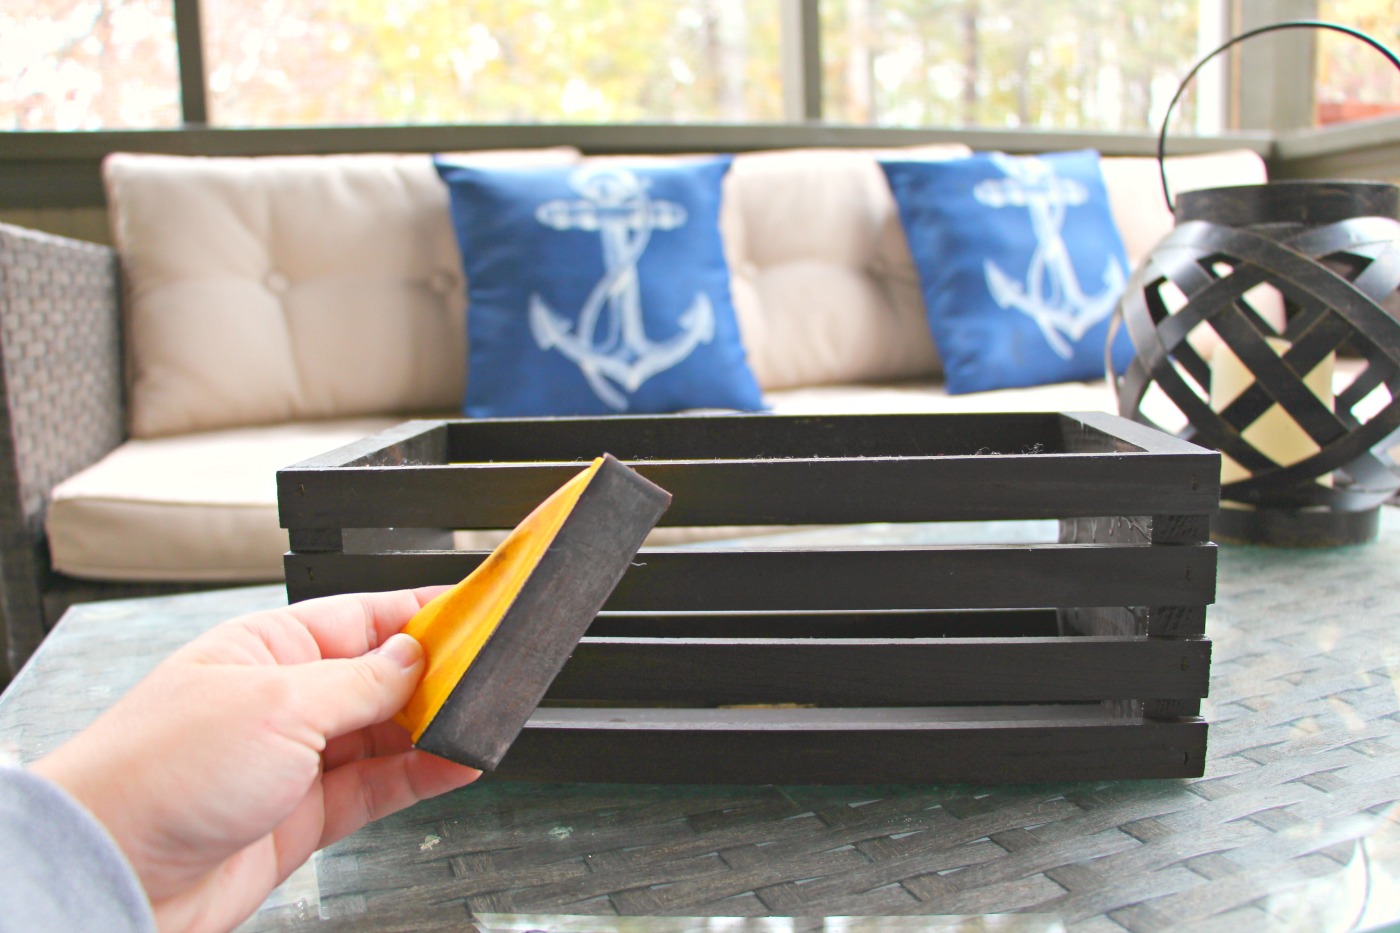
Once your stain is completely dry you can move onto sanding, which will get rid of that shiny look, expose the pine wood and give the crate the ultimate rustic look! Once you have achieved the rustic look you are happy with, this craft is done! There are paints that you can use to seal the paint, however I was afraid that would take away the rustic look and make it too shiny. I ultimately skipped that step and left the crate raw, which I thought made it look very rustic.
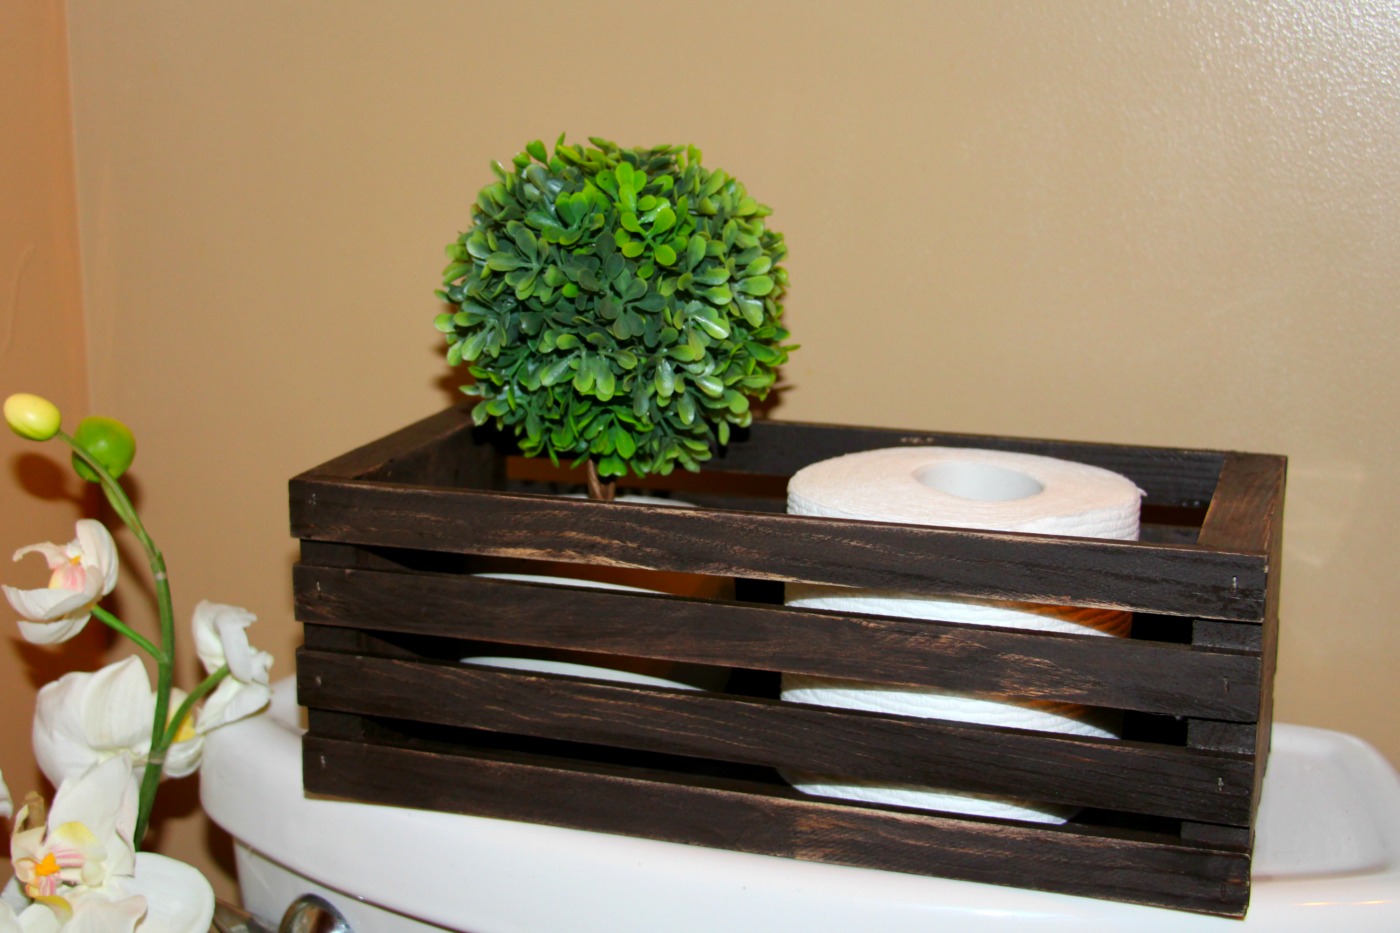
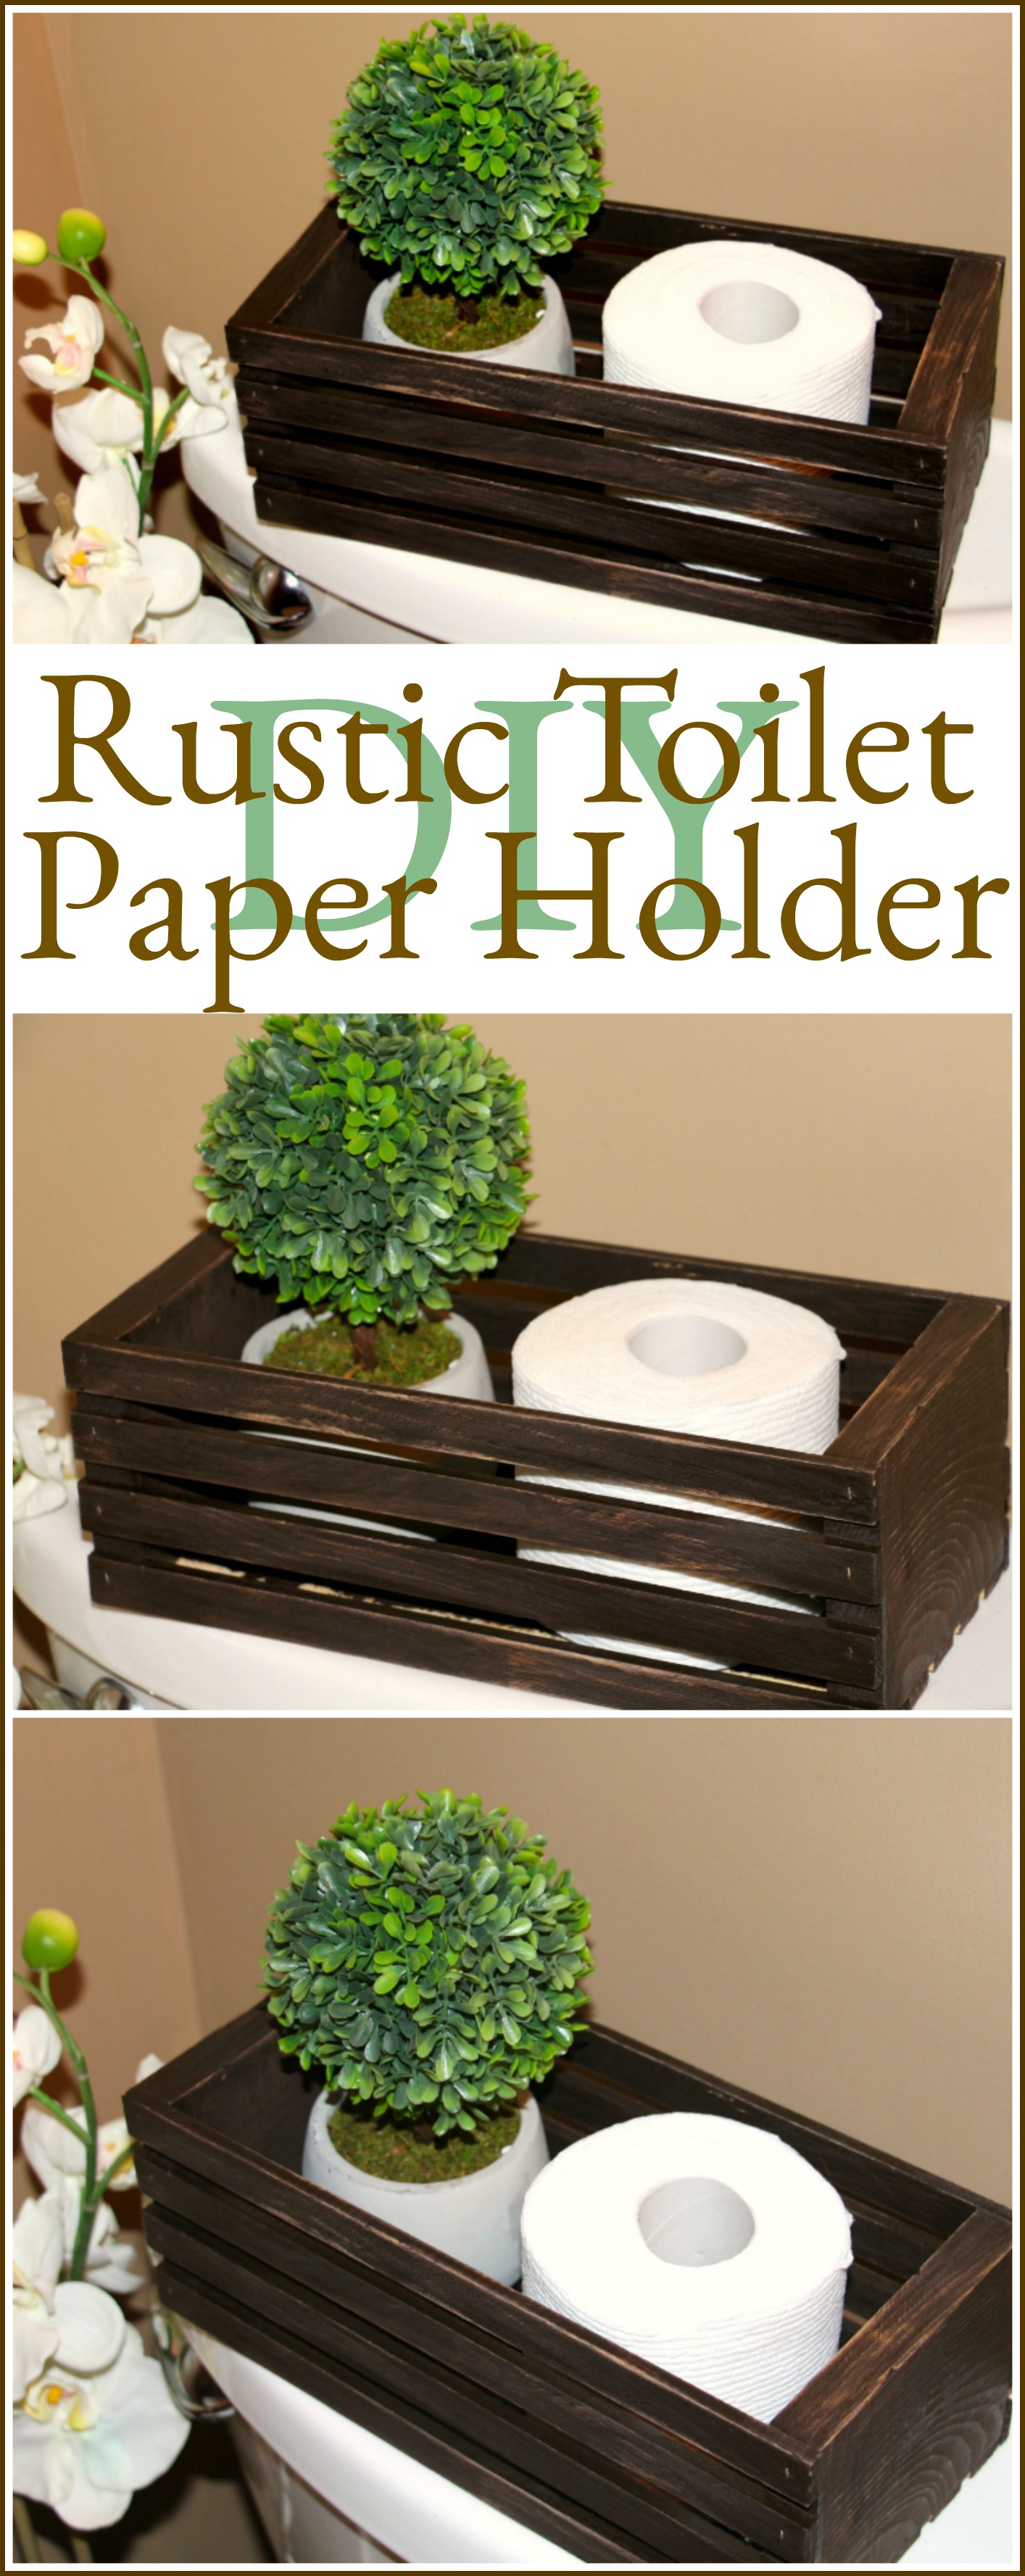
I was shocked at how amazing this DIY toilet paper holder came out considering what little money and time that was needed! I have seen products like this that are twice… sometimes three times the price of what I paid for materials. This was exactly what I had envisioned and it cost me less than $20 to make!
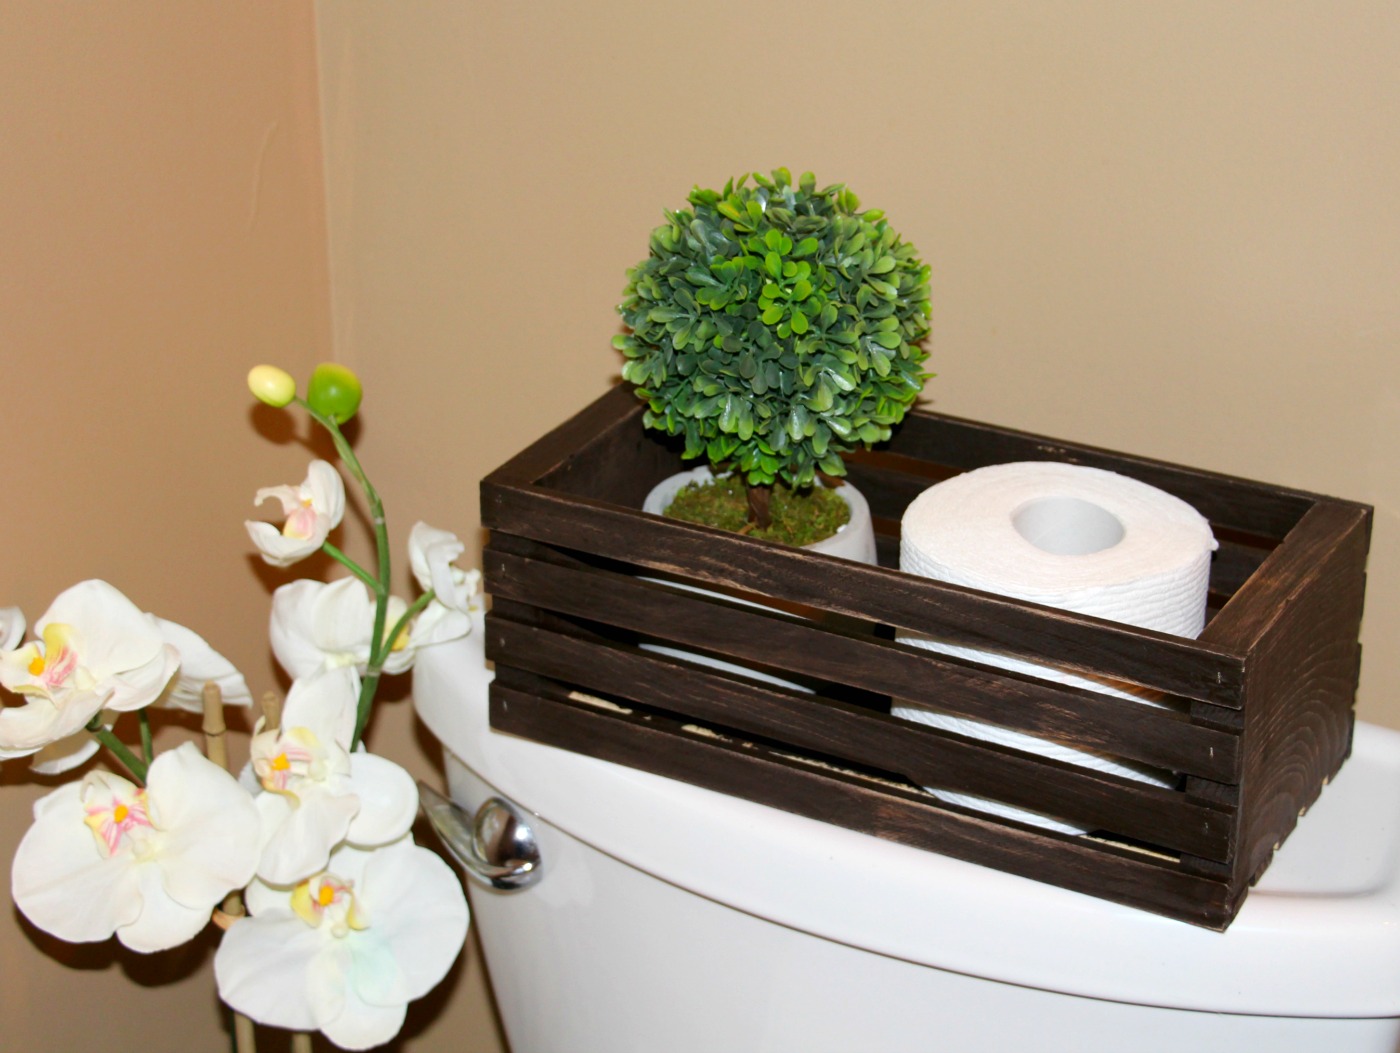
Add a small plant and a roll of toilet paper, place on the back of the toilet and not you have yourself a toilet paper holder that you are proud to display in your home.
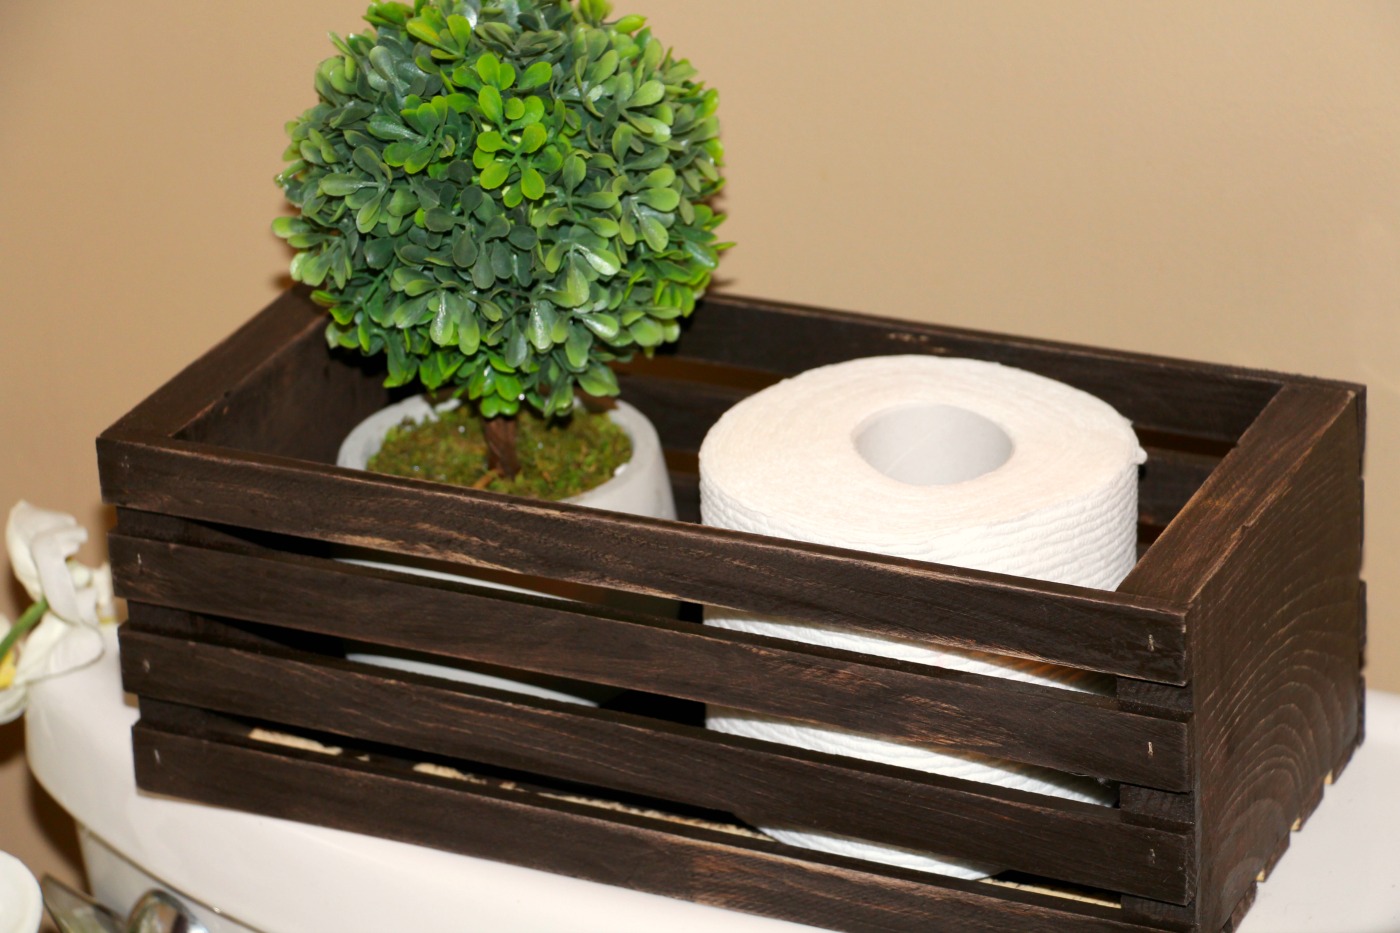
This wooden crate was the perfect way to add some decor in a smaller bathroom without worrying about it looking cluttery!
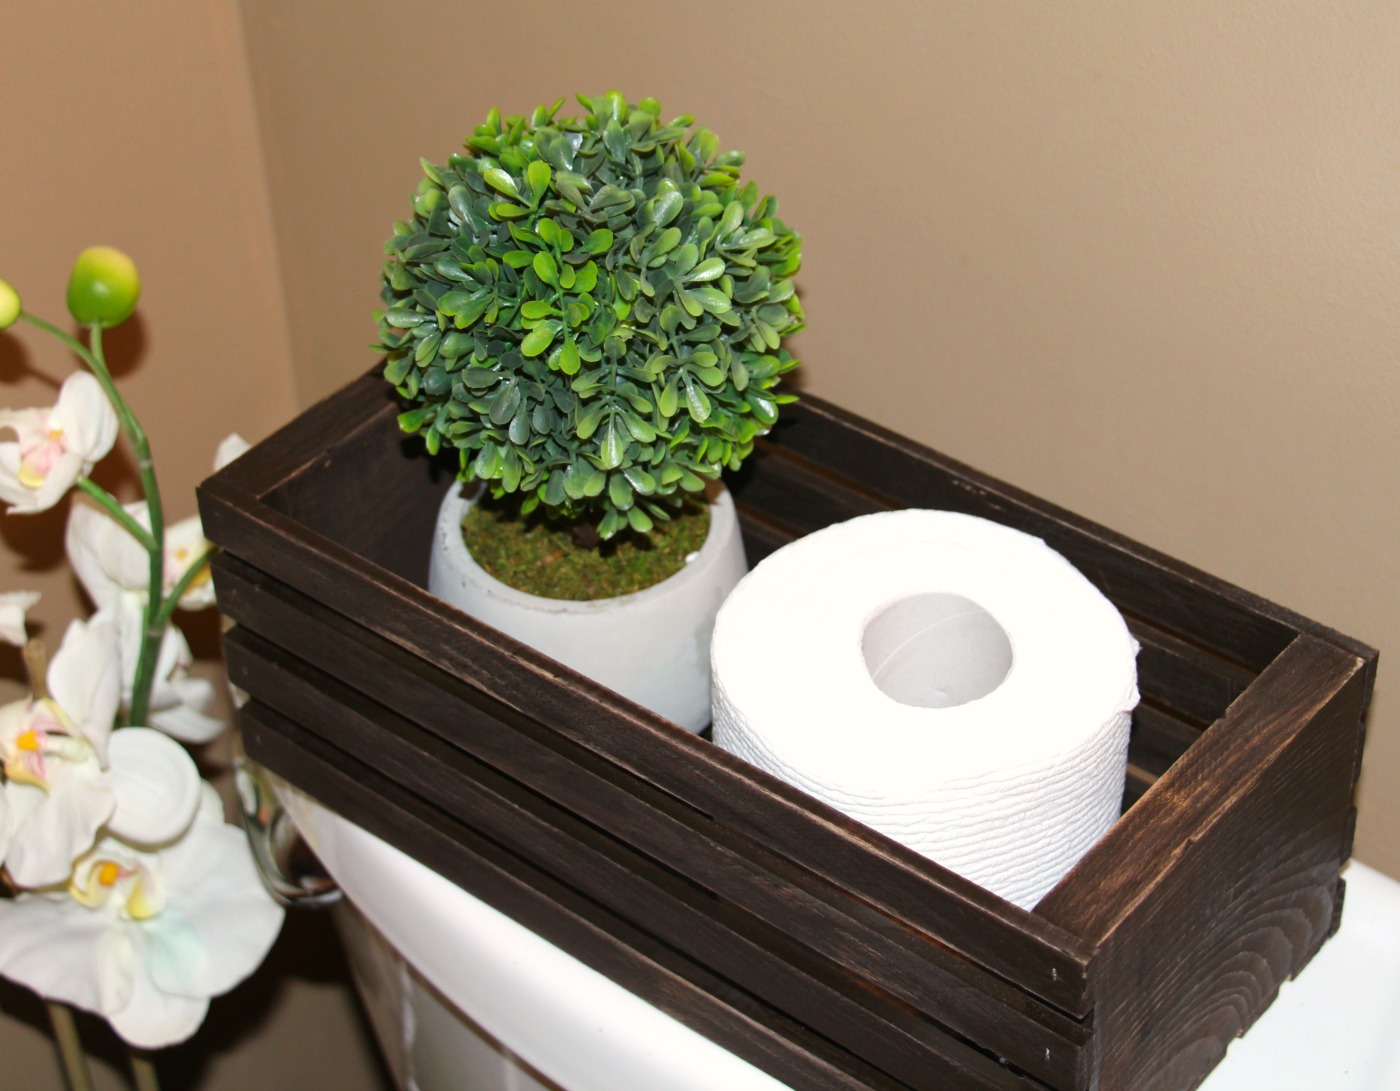
Amazing right! I still can’t believe how simple and fun this was to make!

Let me know in the comment section below if you tried out this DIY project and how your toilet paper holder turned out!


Hi Heather,
I love how this project turned out. The wood conditioner and stain in one is the best option.
Thank you so much for sharing.
Cheers,
Jessica
These blogs really helps information easily.
I would love to replace the artificial plant with real plant. By the way, thanks for sharing your nice project.
I love it!